.jpg&w=3840&q=75)
Creating delightful cakes is only half the process. The other half lies in decoration, which is also a perfect marketing tool. However, there are numerous decorating techniques these days as cakes evolved from simple treats.
In this piece, we’ll highlight decoration’s importance by overviewing basic and advanced techniques, as well as cake decorating tips to help you along the way. Some of them may surely be irrelevant to you, yet collecting all the essentials in one place would be handy for both beginners and professionals. Therefore, let’s get started!
Essential tools for cake decorating
Before we move to techniques, let’s start with the tools. Decorating is impossible without proper tools. Therefore, it’s essential to invest in them as early as possible. Here’s a list of the most important things you should have in your kit.
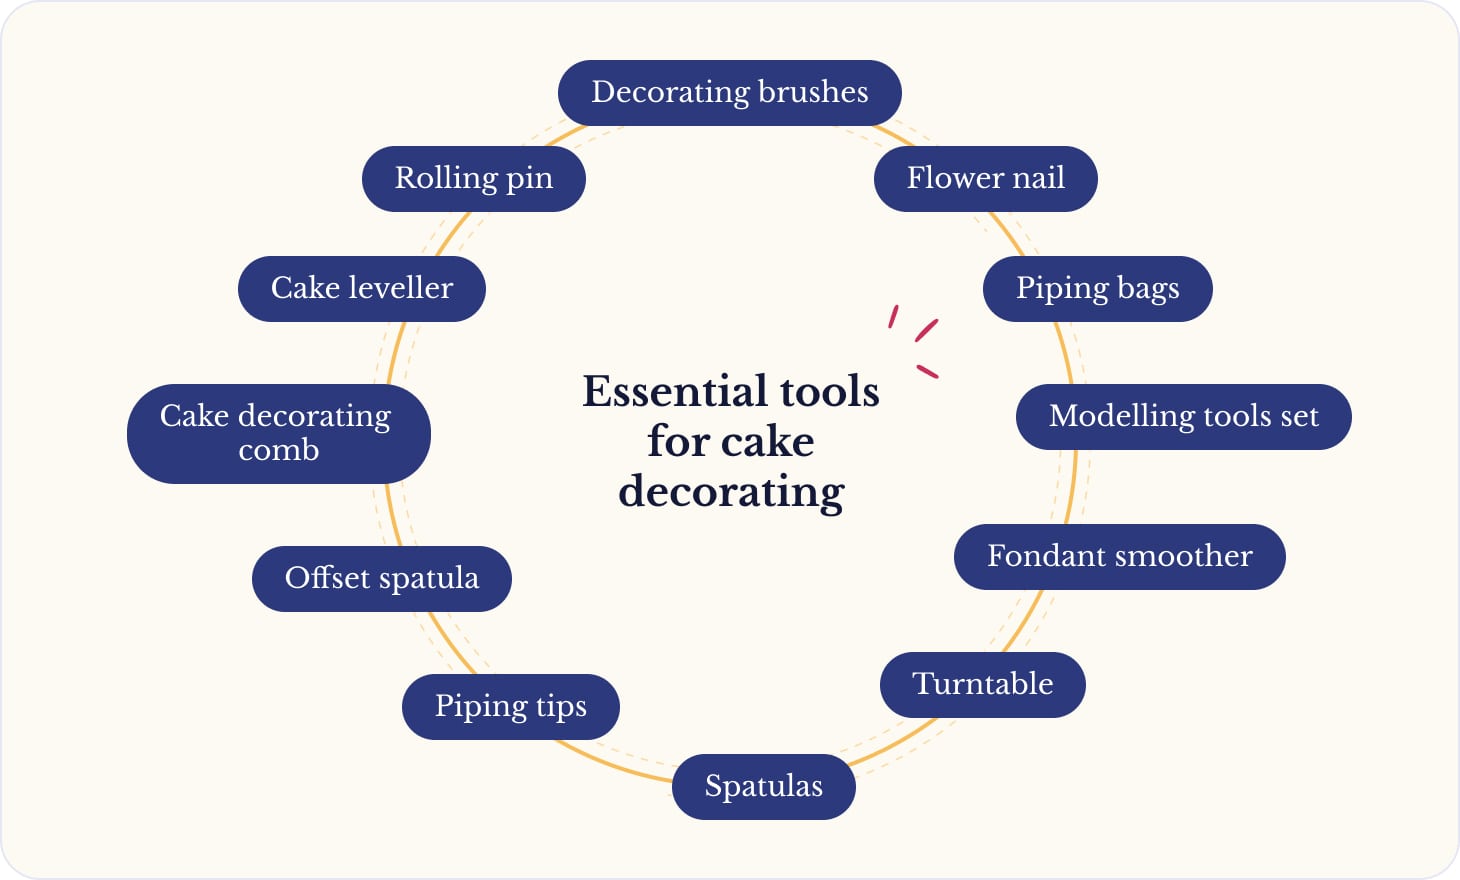
- Piping bags. These are essential for applying frosting and creating intricate designs on cakes. Piping bags allow for precise control over the flow of frosting, essential for creating intricate designs such as borders, flowers, and lettering.
- Piping tips. To use piping bags efficiently, you need various piping tips. They can come in various shapes and sizes for different decorative effects, such as stars, rosettes, and borders. Moreover, they help to determine the shape and size of the decorative elements, offering versatility in design options.
- Spatulas. To work with frosting, you will need spatulas. They are used for smoothing frosting onto cakes and achieving smooth finishes, ensuring a professional appearance.
- Turntable. When you work with any cake, a turntable may be very handy. It allows for easy cake rotation while decorating, with which you can evenly cover the cake and add details more precisely.
- Offset spatula. This tool is ideal for spreading frosting smoothly and evenly. It offers better reach and control when spreading frosting, especially on tall, large, or multi-layered cakes.
- Cake leveler. Ensures cakes are level and uniform in height, preventing uneven frosting and unstable stacking.
- Fondant smoother. Helps in smoothing out fondant on cakes for a polished finish. Moreover, it helps eliminate air bubbles and creases, ensuring a flawless finish when covering cakes with fondant.
- Rolling pin. Essential for rolling out fondant or dough to the desired thickness for cake decoration.
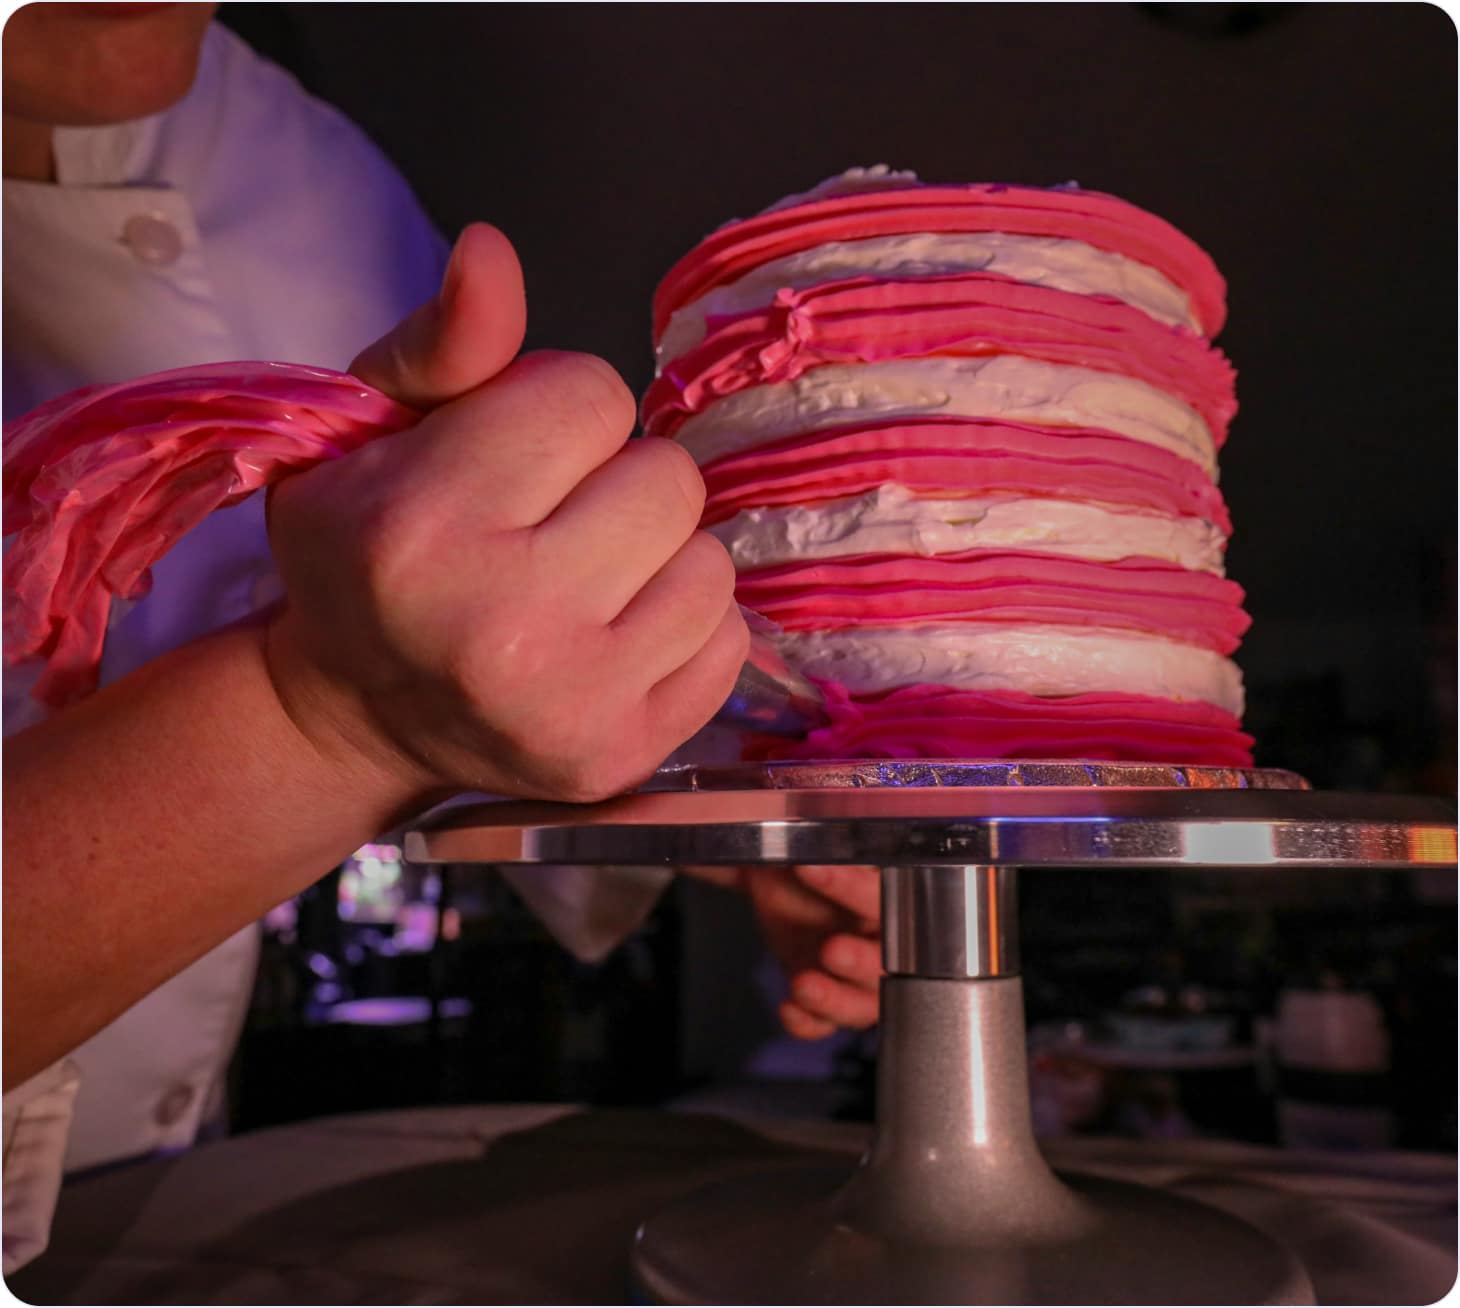
- Cake decorating comb. Creates textured patterns on the sides of cakes for added visual interest. Therefore, it helps to create visual interest in cake sides, enhancing overall aesthetics.
- Decorating brushes. Used for applying edible paints, dusting with edible shimmer, or adding water for adhering decorations. Moreover, it helps to precisely apply decorations and, enhance the detailing.
- Flower nail. A tool used for creating delicate sugar flowers by spinning them as you pipe petals onto them.
- Modeling tools set. These tools assist in shaping and detailing fondant or gum paste decorations.
- Cake boards and cake boxes. Provide support and transportation for finished cakes.
Basic techniques for cake decoration
Now that we covered tools, let’s move to the main course, namely cake decorating tips for beginners. First, let’s overview basic techniques which form the basis for all others. They are easy to do yet they can transform simple cakes into delightful and festive treats.
Buttercream 101
Initially, the majority of decorations are applied with buttercream, which is a part of cake decorating basics. Hence, preparing a perfect buttercream is a must to create stunning decorations. However, cake makers may have dozens of variants of how to make it, and it’s completely OK for you to follow your own recipe. For demonstration purposes, here’s how to make the most basic buttercream for cake decoration.
To make it, you will need:
- 1 cup (2 sticks) unsalted butter, at room temperature;
- 4 cups powdered sugar, sifted;
- 2-4 tablespoons heavy cream or milk;
- 1 teaspoon vanilla extract (or other flavourings like almond, lemon, etc.);
- Pinch of salt (optional).
Once you have everything, here is a simple step-by-step process to create it.
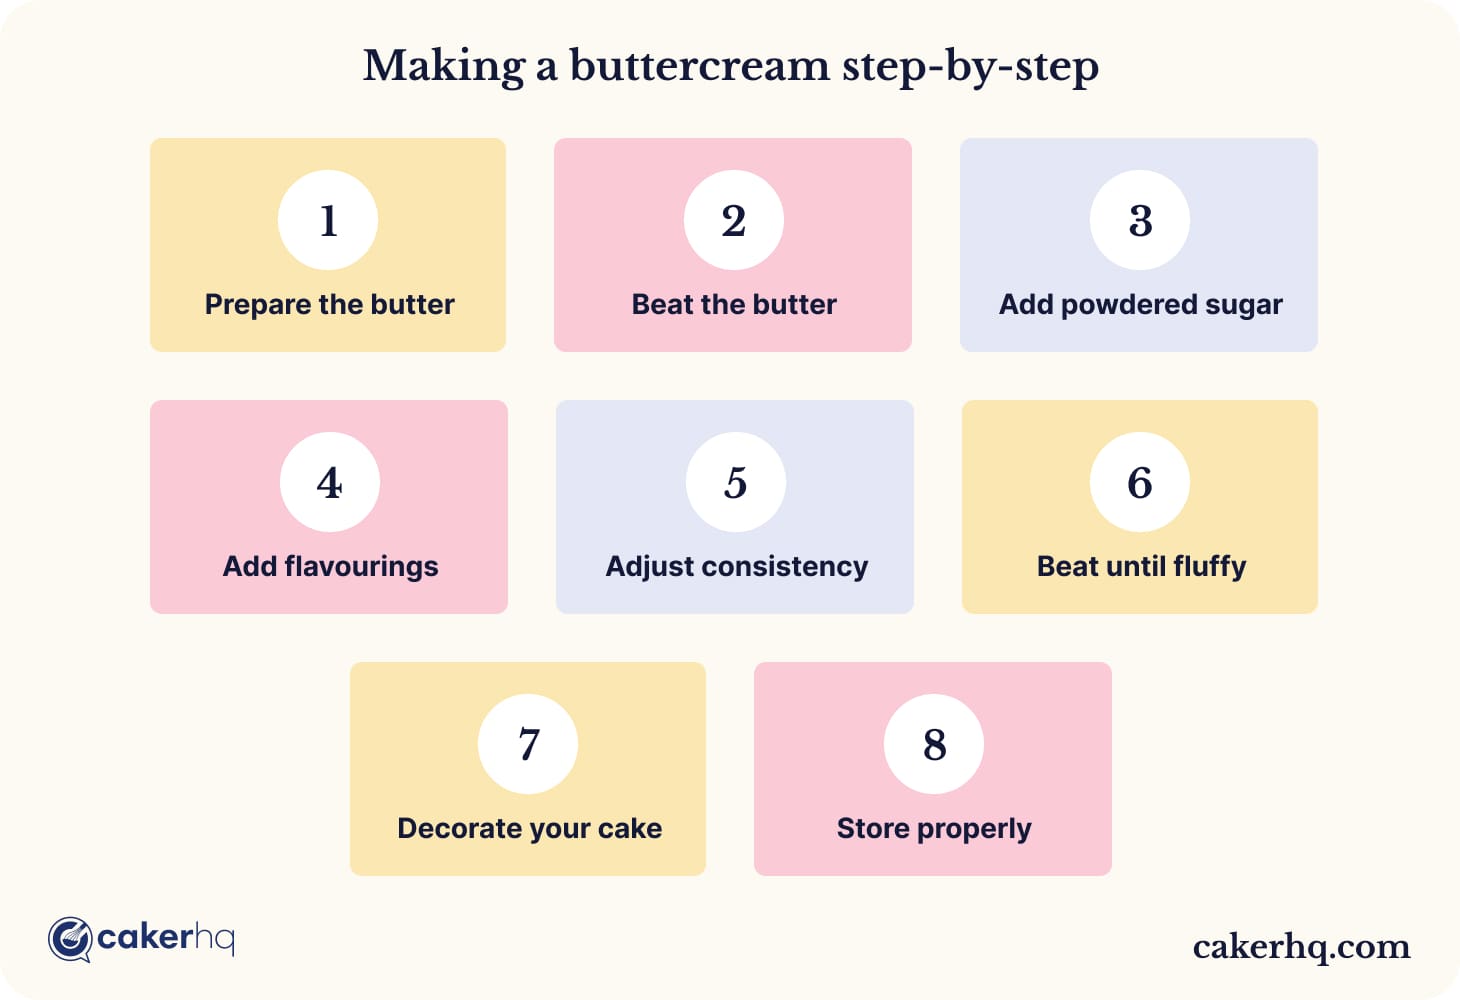
- Prepare the butter. First, make sure the butter is at room temperature. It should be soft but not melted. Cut the butter into chunks to make it easier to beat.
- Beat the butter. In a large mixing bowl, use a hand or stand mixer fitted with a paddle attachment to beat the softened butter at medium to high speed until it is smooth and creamy. This usually takes about 2-3 minutes.
- Add powdered sugar. With the mixer on low speed, gradually add the sifted powdered sugar to the beaten butter, one cup at a time. Ensure each cup is entirely dissolved before adding more. Scrape down the sides of the bowl as needed to ensure everything is well-mixed.
- Add flavourings. Once all the powdered sugar is mixed in, add the vanilla extract (or other flavourings) and a pinch of salt if desired. Mix until combined.
- Adjust consistency. At this point, assess the consistency of your buttercream. If it's too thick, add 1-2 tablespoons of heavy cream or milk and beat until smooth. If it's too thin, add more powdered sugar, a little at a time, until you reach the desired consistency.
- Beat until fluffy. Increase the mixer speed to medium-high and beat the buttercream for an additional 3-5 minutes or until it becomes light and fluffy. This will help incorporate air into the buttercream, giving it a lighter texture.
- Decorate your cake. Your buttercream is now ready to decorate cakes, cupcakes, or other baked goods. Transfer it to a piping bag fitted with your desired tip and decorate as desired.
- Store properly. If you're not using the buttercream immediately, you can store it in an airtight container in the refrigerator for up to one week. Before using, let it come to room temperature and then re-whip it briefly to restore its texture.
Looking for a professional to order a cake? Browse with CakerHQ! Sign up
Different piping techniques
Speaking of cake decorating techniques for beginners, here are the most basic ones you can decorate any cake with.
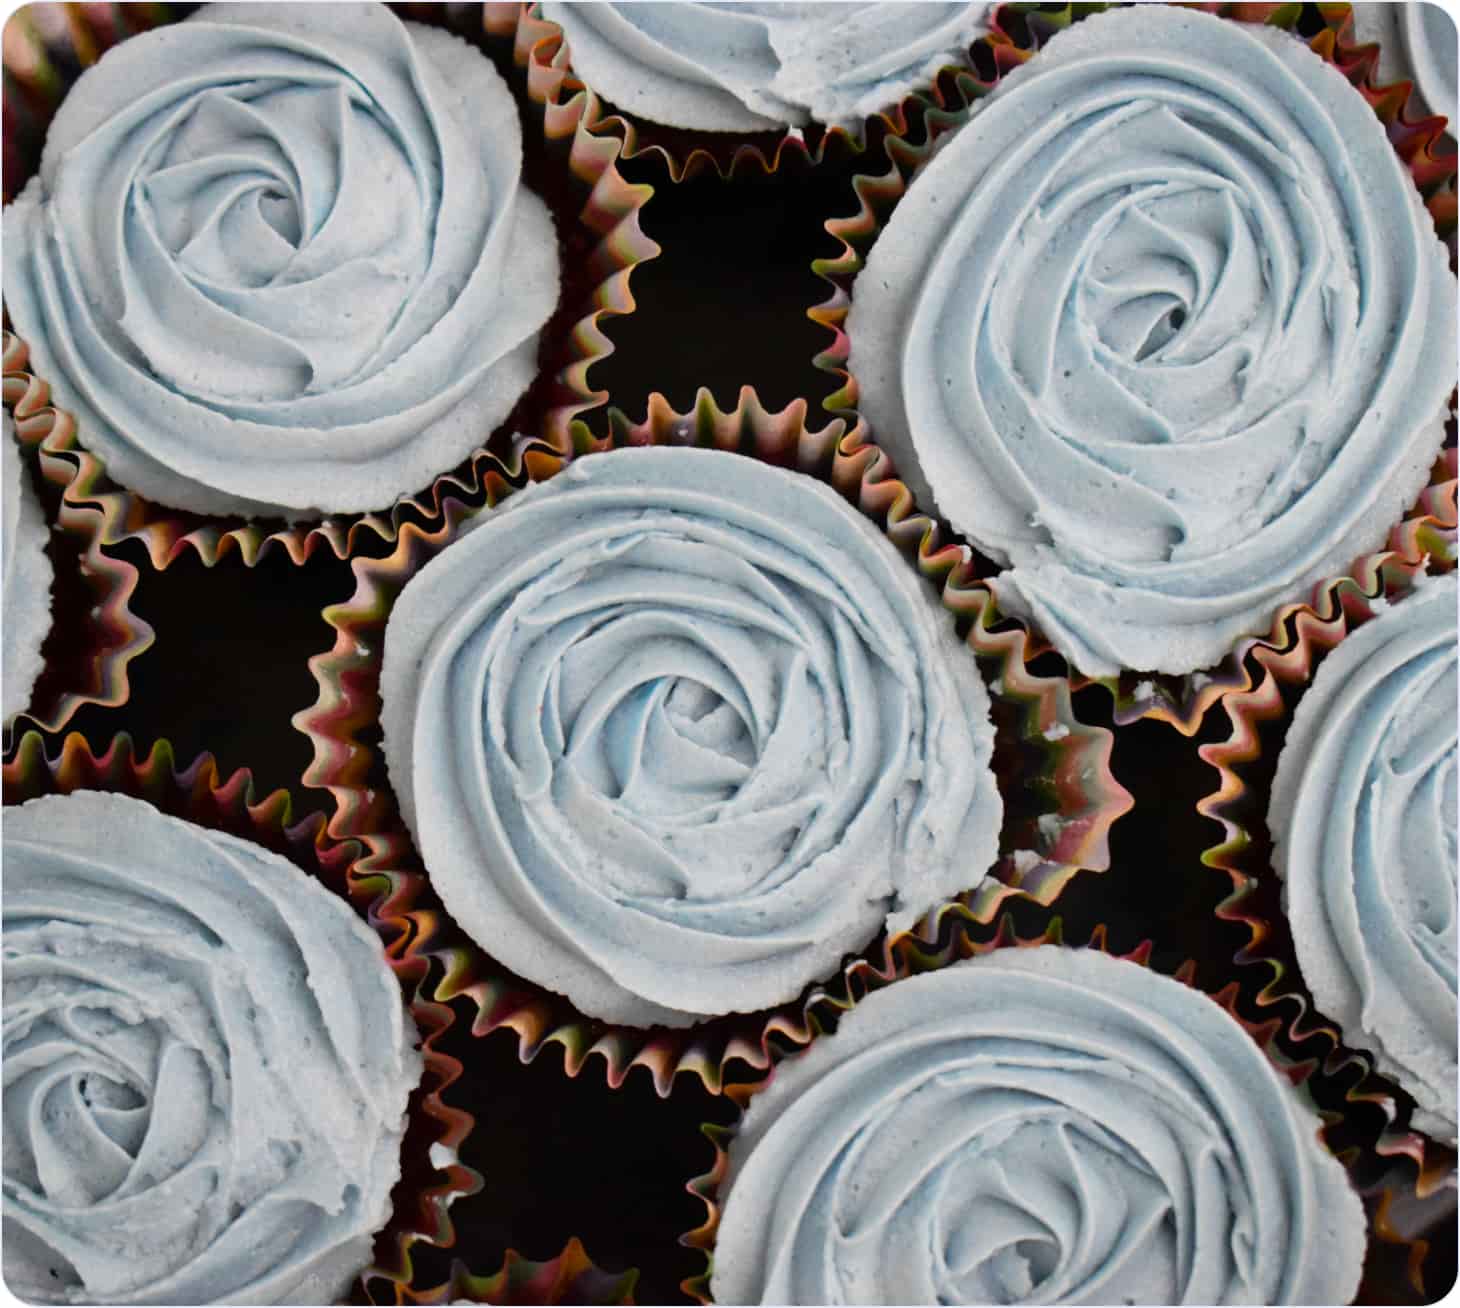
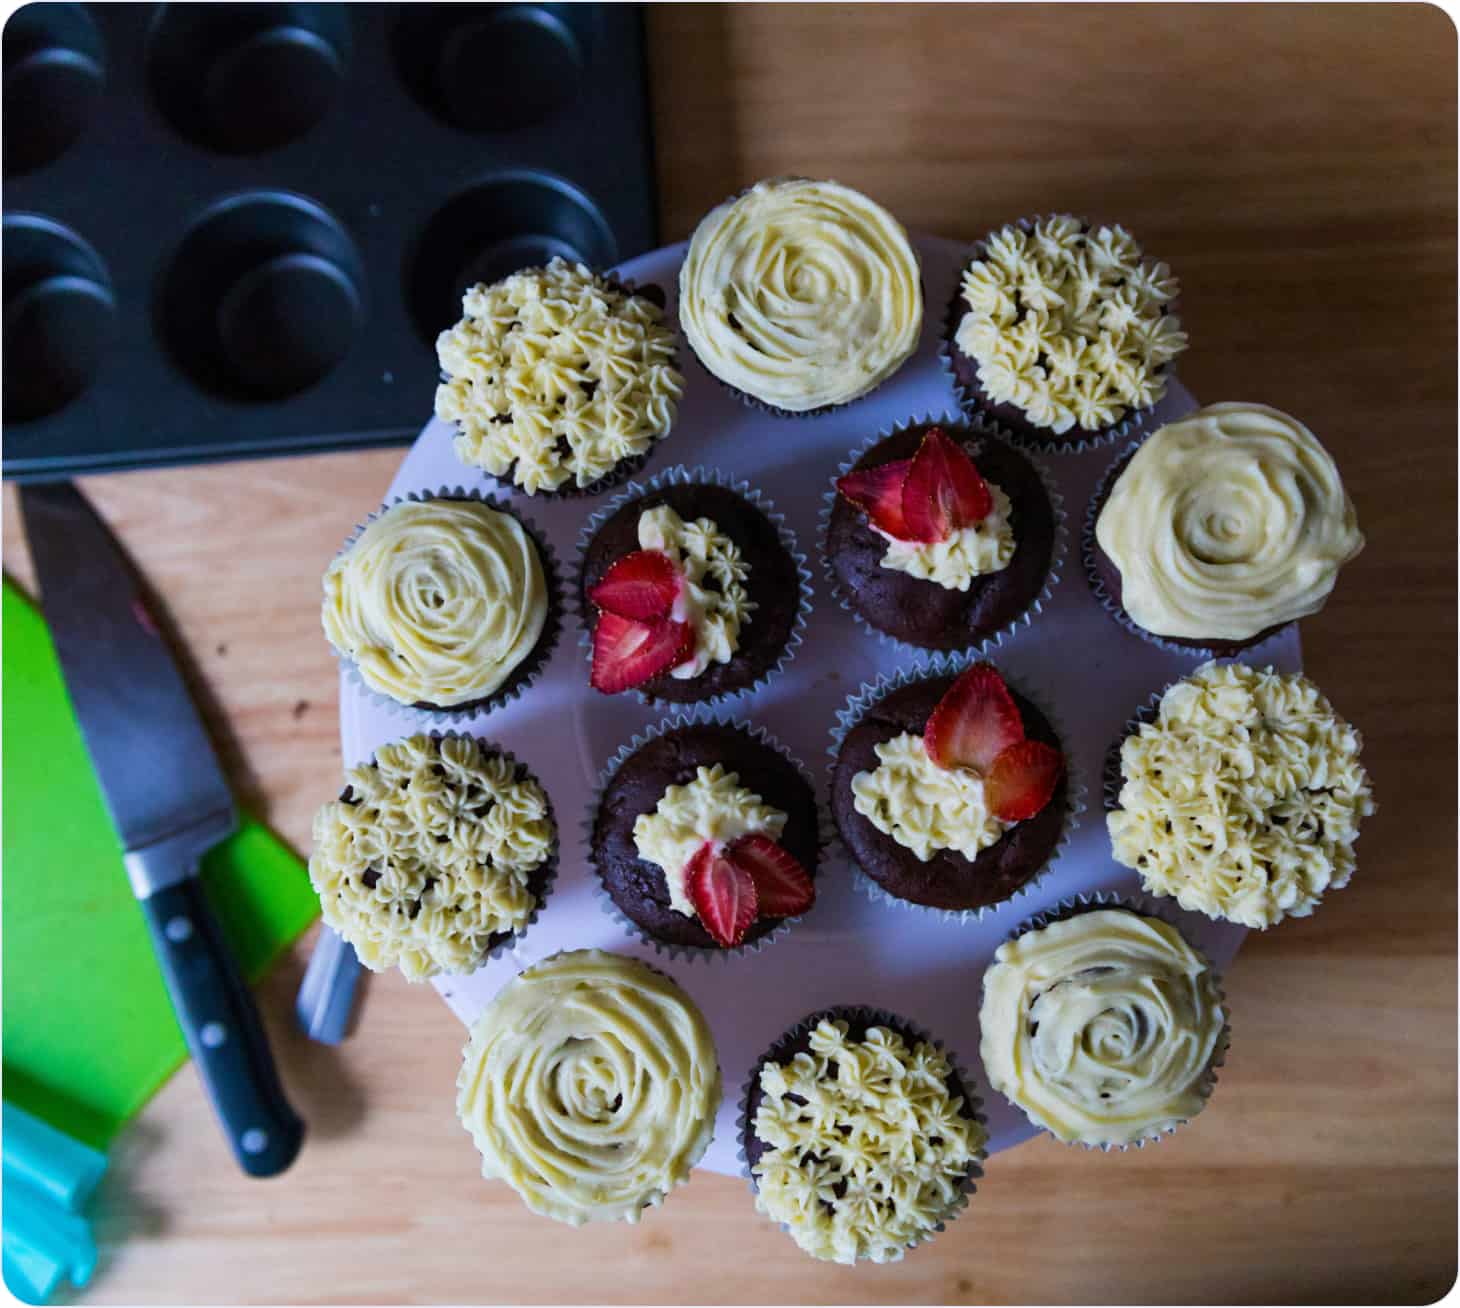
Rosettes
Start by affixing a star-shaped piping tip to a buttercream-filled piping bag. Hold the bag perpendicular to the cake's surface and apply consistent pressure while gently squeezing it.
Begin piping in the center and move in a swirling motion outward, concluding with a gentle lift to form a peak.
Source: Unsplash
Stars
Similar to rosettes, but instead of swirling outward, apply steady pressure while piping a straight line, then release pressure and lift the piping bag to create a star shape.
Source: Unsplash
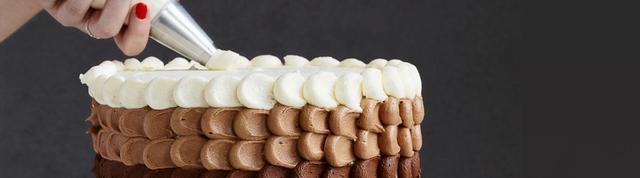
Borders
Attach a round piping tip to the piping bag and hold it at a 45-degree angle to the edge of the cake. Apply gentle pressure while piping a continuous line of buttercream along the edge of the cake. Experiment with different tip sizes and motions to create various border designs, such as shells, beads, or zigzags.
Source: Unsplash
Leaves
Utilize a leaf-shaped piping tip or a small round tip to craft leaves. Hold the piping bag at a 45-degree angle to the cake's surface, exerting gentle pressure while piping a leaf shape. Complete the motion with a slight wrist flick to form a pointed tip.
Writing
Attach a small round piping tip to the piping bag and hold it at a 90-degree angle to the surface of the cake. Apply even pressure while piping letters or words onto the cake, using a steady motion to ensure uniformity in size and shape.
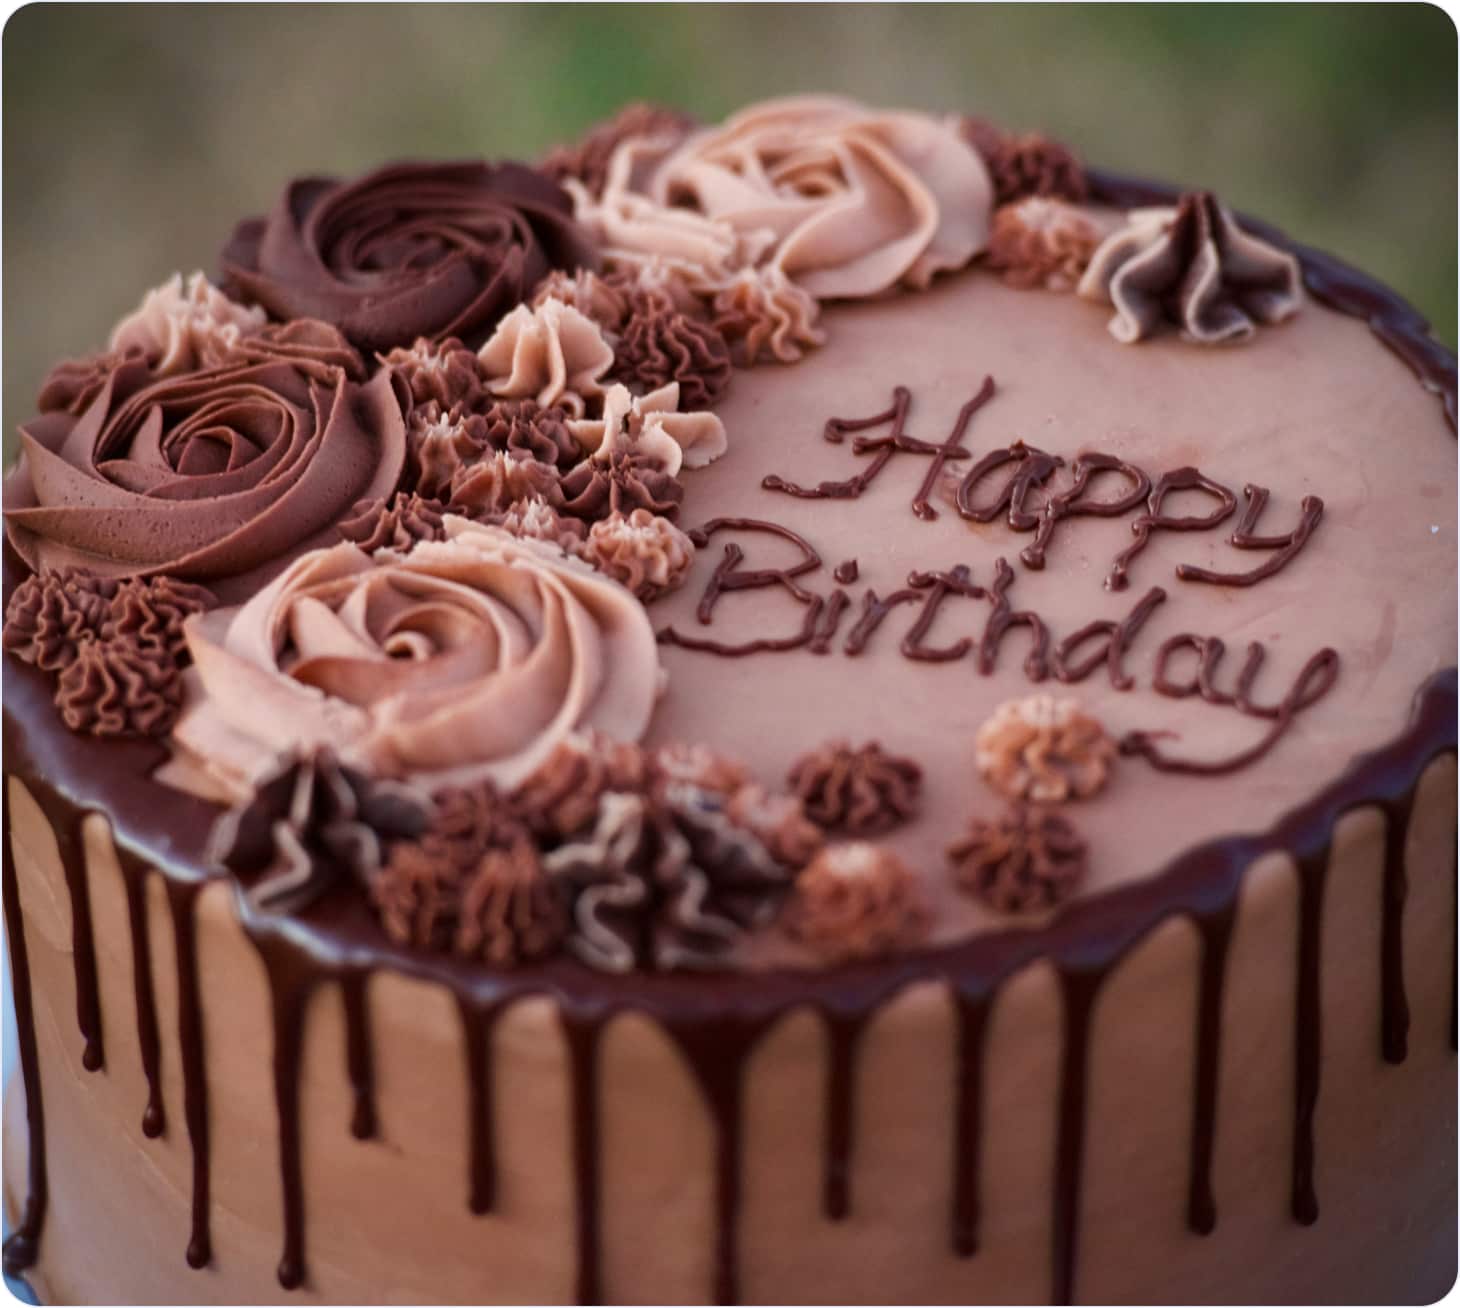
Source: Unsplash
Advanced techniques for cake decoration
Moving on from basic techniques, let’s cover how to decorate cakes with several advanced ones. They are more complex, yet mastering them opens more possibilities to create outstanding and far-from-simple cake decorations. In particular, let’s cover 3D cake sculpting and various painting methods.
3D cake sculpting
If you’re unfamiliar with it, 3D cake sculpting is a cake decoration technique that involves carving and shaping a cake to create three-dimensional designs, shapes, or figures.
Tips for carving and shaping cakes
To achieve such forms, cake makers use various tools to carve the cake into intricate designs, such as animals, objects, or structures. Although it sounds complicated, here are several cake decoration tips to help you get started.
- Select the appropriate cake recipe. Opt for a dense and robust cake recipe capable of maintaining its shape when carved. Avoid excessively soft or fragile cakes that are prone to crumbling.
- Start with a well-chilled cake. Chill your cake in the refrigerator for at least an hour before sculpting. A chilled cake is firmer and easier to carve without crumbling.
- Use a sharp knife. A sharp, serrated knife is essential for carving clean lines and intricate details. Take your time and work slowly, making small, precise cuts.
- Practise with different tools. Experiment with various carving tools, such as sculpting knives, modeling tools, or even spoons, to achieve different textures and effects in your sculpted cake. After all, you will never know which tools will suit you best until you try them all.
- Create a template. Before you start carving, sketch your design on paper and create a template. This will serve as a guide as you carve the cake.
- Work in layers. Start by carving the basic shape of your design, then gradually add layers and details. This will help you achieve depth and dimension in your sculpted cake.
Using support structures for stability
In cake decorating, support structures are internal or external components used to reinforce the cake's structure and prevent it from collapsing under its own weight. These structures are particularly important for cakes with multiple tiers, intricate designs, or sculpted shapes.
Speaking of examples, let’s list several.
Firstly, there are dowel rods. These are food-safe, cylindrical rods inserted vertically into tiered cakes to provide support between layers. They help distribute the weight of the upper tiers evenly and prevent them from sinking into the lower tiers.
Secondly, you can use cake boards. These sturdy, flat boards are placed between cake layers to provide additional support and stability. They can also serve as a base for sculpted or tiered cakes.
Thirdly, there are also cake drums. Similar to cake boards, cake drums are thicker and sturdier. They are often used as the base for heavy or multi-tiered cakes to provide extra support and prevent flexing.
Lastly, you can also use pillars. They are vertical support columns placed between tiers in stacked cakes. They can be made of plastic, metal, or even edible materials like fondant or gum paste.
Painting and airbrushing
As simple as it sounds, painting and airbrushing are cake decorating techniques used to add colour and detail to cakes. However, there is a major difference between painting and airbrushing.
Painting involves using edible paints and brushes to apply colour directly onto the cake's surface, allowing for intricate designs and patterns.
Airbrushing utilises an airbrush gun and food-safe colours to spray a fine mist of colour onto the cake, creating smooth gradients and vibrant effects quickly and efficiently.
Looking for new customers for your cakes? Find them on CakerHQ. Become a member
Before you start painting, here’s what you should know first.
- Use edible paints. Invest in a set of edible paints specifically designed for use on cakes. These paints are made from food-safe ingredients and often come in a wide range of colours.
- Thin your paints. Thin your edible paints with a small amount of vodka or clear extract to achieve a smoother consistency and more translucent finish. This will help prevent streaks and brush marks.
- Practise blending. Experiment with blending different colours together to create custom shades and gradients. Start with lighter colours and gradually build up layers for a more realistic effect.
- Use stencils. Stencils are a great way to add intricate patterns and designs to your painted cakes. Secure the stencil to the cake with a dab of frosting, then use a small brush to paint inside the stencil openings.
When it comes to airbrushing, you should know that it’s more complicated right off the top. However, the way of mastering it is the same as with painting. Here are several tips:
- Invest in an airbrush kit. Purchase an airbrush kit specifically designed for use with food colouring. These kits typically include an airbrush gun, a compressor, and a variety of colours.
- Practise control. Practise spraying with your airbrush gun on a piece of paper or cardboard before using it on a cake. This will help you get a feel for the pressure and distance needed to achieve different effects.
- Experiment with stencils. Like in painting, stencils can also be used with an airbrush to create intricate designs and patterns. Hold the stencil firmly against the cake and spray the airbrush lightly over the openings for crisp, clean lines.
- Have fun with it. Airbrushing is a fun and creative technique that allows for endless possibilities. Experiment with different colours, gradients, and effects to create unique and beautiful designs on your cakes.
Need a platform to sell your cakes? Do it with CakerHQ! Sign up now
Troubleshooting common issues
Decorating cakes is a delicate process. If you had experience with it, you know better than anyone else how easy it is to spoil everything. Among all possible issues, there are some common ones. Fortunately, they can be fixed fairly easily.
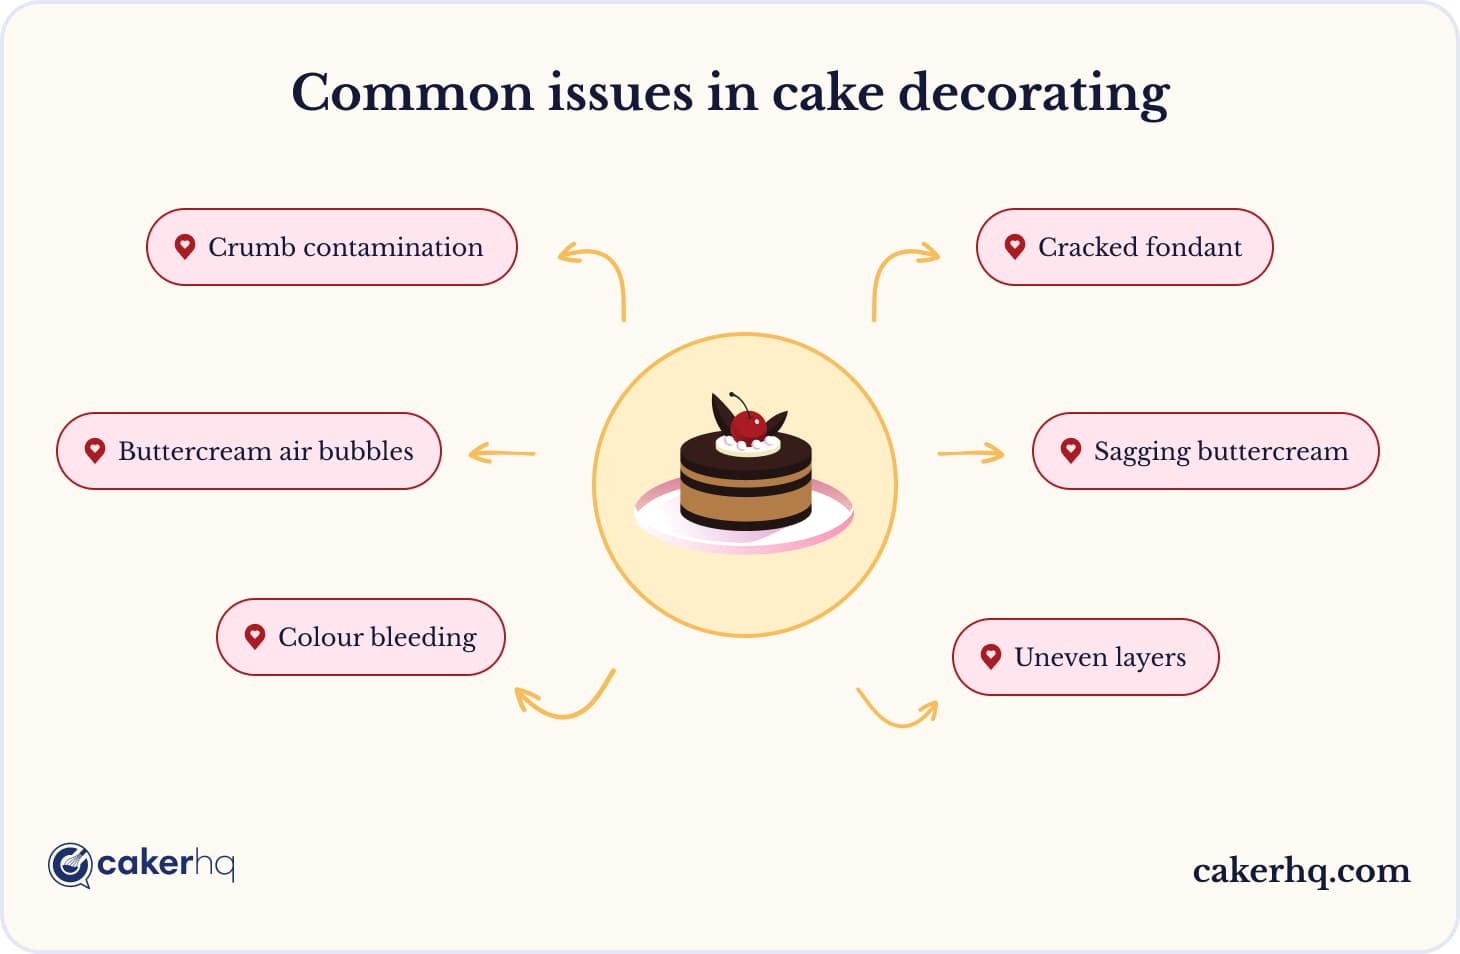
Cracked fondant
Dealing with fondant cracking can be vexing, but identifying the causes and applying effective solutions can alleviate the problem. Hence, here are potential issues you might encounter, along with their corresponding remedies
Dry fondant :(
Fondant can crack if it becomes too dry while rolling or handling. To prevent this, knead a small amount of vegetable shortening or glycerin into the fondant to add moisture.
Temperature fluctuations :(
Extreme temperatures can cause the fondant to crack. Ensure your cake is at room temperature before applying fondant, and avoid placing fondant-covered cakes in the refrigerator or in direct sunlight.
Too thin layers :(
Applying fondant in thin layers can make it more prone to cracking. Roll out the fondant to an appropriate thickness, usually about 3 to 6 millimeters (1/8 to 1/4 inch), to provide sufficient coverage without risking cracking.
Overhandling :(
Excessive handling of fondant can dry it out and cause cracks. Work quickly and efficiently when rolling and covering the cake with fondant, and avoid re-rolling scraps too many times.
Humidity levels :(
Different humidity levels can impact fondant, as high humidity can soften it, leading to tearing or stretching. To mitigate this issue, dust your work surface with powdered sugar or cornstarch to prevent sticking. Additionally, consider using a dehumidifier in the decorating area if humidity remains consistently high.
Sagging buttercream
Sagging or bulging buttercream can detract from the appearance of a beautifully decorated cake. To prevent this common issue, ensure your cake layers are level and properly stacked before applying buttercream.
Additionally, always remember to apply a crumb coat. It is a thin layer of buttercream, often added right before the final layer of frosting. This helps seal in crumbs and provides a smooth base for the final coat of buttercream.
When applying buttercream, the first thing to keep in mind is consistency. Buttercream should be equal across the entire cake to ensure even support and prevent uneven settling.
Uneven layers
When it comes to creating multi-layered and complicated cakes, problems with layers of cake aren’t unheard of. Fortunately, this issue can often be resolved by using a cake leveler or a serrated knife to trim the tops of the cake layers to create a flat surface.
Buttercream air bubbles
Mistakes are common, even in something as simple as making buttercream. Air bubbles can become trapped in buttercream during mixing or application, creating unsightly bumps or pockets on the cake's surface.
To prevent air bubbles from appearing, mix the buttercream on low speed to minimise air incorporation, and use a spatula or cake smoother to gently smooth out the buttercream as you apply it to the cake.
Colour bleeding
When using coloured frosting or decorations on a cake, it's essential to be mindful of colour bleeding, where the colours may run or bleed into each other, especially if the cake is exposed to moisture or humidity.
To prevent colour bleeding, allow coloured frosting to dry completely before adding additional layers or decorations, and store the cake in a cool, dry place.
Crumb contamination
Crumbs from the cake layers can sometimes mix with the frosting, creating a speckled appearance on the cake's surface. To avoid crumb contamination, apply a thin layer of frosting, known as a crumb coat, to seal in the crumbs before adding the final layer of frosting.
Bottom line
We’re here at last! As you can see, cake decoration appears to be easy only at first glance. The more you get into it, the more minor issues appear. Therefore, it is an endless possibility for learning to decorate cakes and self-improvement. We sincerely hope this article of different cake decorating tips has been helpful to you, regardless of your experience and goal.
If you’re looking for more content, feel free to check our blog, where we cover holiday-themed recipes, cake-making business ideas, and dozens of practical tips for aspiring cake makers.