.jpg&w=3840&q=75 "Lifehacks to Improve Your Cake Photography Skills")
Marketing and advertising always include photography in some form. Capturing the perfect shot of a delectable cake is an art in itself. Taking enticing cake photographs can make your creations even more mouthwatering.
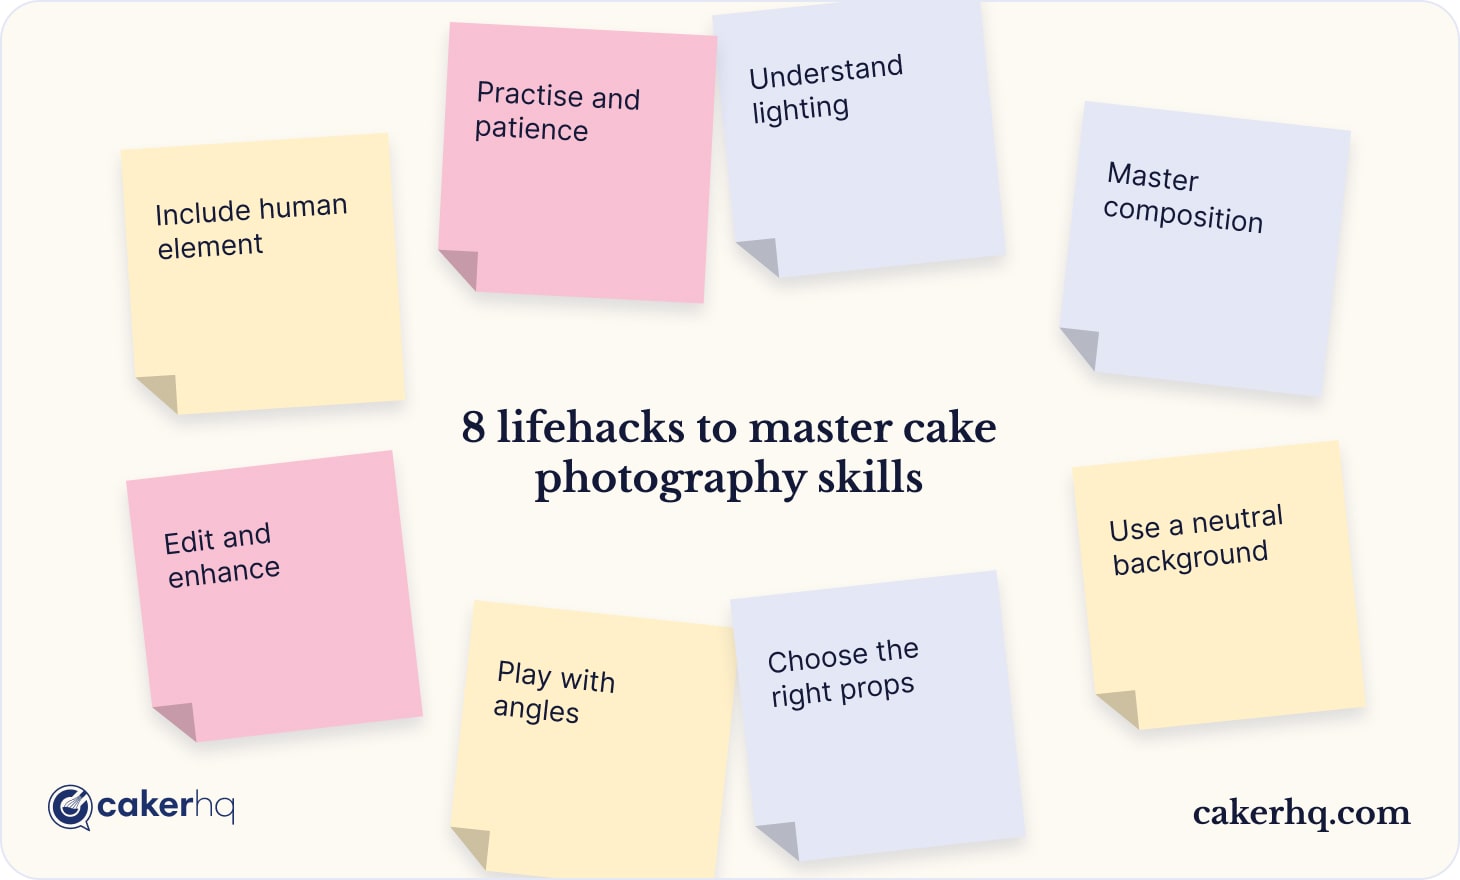
In this article, we'll explore eight food photography tips to help you showcase your cakes like a pro, turning your photographs into great means of advertising. Let’s get started.
The lifehacks covered in this article are quite different, targeting varying aspects of photography. Some of them aim to improve lighting, while others simply give valuable tips on how to set up the scene. Here are the ones we consider the most important for improving cake photography skills.
Understand lighting
Understanding lighting is one of the most critical aspects of cake photography (and photography in general). How you use light can greatly affect the atmosphere and overall appeal of your digital portfolio. Here are some practical tips that may help you master the right light placement.
Natural light vs. artificial light
Depending on the circumstances, these two types of light are those you will need to choose between.
Using natural light is a great idea for both big and small cake photography. Why? It is always soft and, as the name suggests, natural. Moreover, it is easier to ‘use,’ as you don’t need to set it up, simply find it. Hence, try positioning your cake near a window or outside, where natural light flows in gently.
However, make sure not to go overboard and avoid harsh sunlight. It can overexpose your cake and create strong, unnatural shadows.
If, for some reason, there’s no access to natural light, it’s insufficient or unavailable, consider the artificial one. There are many practises to it, but for cake photography, you can use diffused artificial light sources, such as softboxes or diffusers, to achieve a similar effect as the natural light provides. Moreover, artificial light is flexible, there are lots of devices available, so there’s always room for experiments.
Direction of light
The light source's direction also matters. Side lighting can create beautiful shadows and highlight textures, while backlighting can create a glowing effect around the edges of the cake. Front lighting can be less dramatic but works well to illuminate the entire cake evenly.
Avoid flash
It can produce harsh and unflattering results, especially when photographing food. You would rarely want to use the camera's built-in flash. Hence, natural or diffused light sources can be great alternatives.
White balance
An accurate white balance ensures accurate colour representation in your cake photographs. Adjust the white balance settings on your camera or during post-processing to match the lighting conditions and maintain the cake's true colours.
Reflectors and fill lights
Use reflectors or additional light sources (like LED panels) to fill in shadows and reduce harsh contrasts. This helps create a balanced and well-lit image.
Master composition
Being skilled in creating a composition is a comprehensive aspect. It is crucial for creating visually pleasing and impactful cake photos and videos. In a nutshell, composition refers to how elements are arranged within the frame and how they interact with each other. In this matter, there are many different techniques depending on what photos you are planning to take. To set up a nice composition for a cake photography session, learn the following aspects.
Rule of thirds
Being quite popular, the rule of thirds is a core principle in photography. According to it, you must divide your frame into a 3x3 grid to create nine equal parts. Then, place important elements like the cake, cake stand, or props along these gridlines or at their intersections. With the rule of thirds, you can enhance the visual appeal of your composition and balance it.
Framing
Next up, learn more about framing, which uses elements in the composition to frame the cake creatively. For example, you can use fruits, plates, or other desserts around the cake to draw the viewer's attention to the main subject.
Source: Unsplash
Foreground and background
Both of these elements require your attention and adjustments in your composition. The foreground and background have to complement the cake and the overall composition. Moreover, if matched properly, they can enhance the overall visual storytelling. Also, you can try experimenting with depth of field. It will help you blur the background and bring focus to the cake. Look at the example to see how you should decompose the composition into elements that can be adjusted to create a better photo.

Source: Unsplash
Leading lines
To make photos even more visually appealing, use lines in the environment to guide the viewer's eyes towards the cake. Leading lines can be literal lines or implied lines formed by the arrangement of props or other elements in the scene.
Use a neutral background
Using a neutral background in cake photography helps draw attention to the cake as the main subject. A neutral background does a great job of eliminating distractions and ensuring the cake remains the focal point. Let’s overview the main reason why your background must not stand out.
First of all, it allows you to emphasise the cake. A neutral background, such as a white or light-coloured backdrop, allows the cake to stand out and take centre stage. It prevents the background from competing for attention with the main subject.
Secondly, a neutral background is a preferable choice because you can use it in many different variations. It suits a wide range of cake styles, colours, and designs. It won't clash with the cake's decorations or frosting, ensuring it remains the centre of attention.
Source: Unsplash
To make the most of the neutral background, you can also follow a few helpful tips. For example, make sure you choose light, pleasant colours like white, off-white, light grey, or soft pastel shades that work well as neutral backgrounds. Light colours help reflect light, creating a bright and airy feel in the photo.
To set up a neutral background, you can use seamless paper or cloth. Both are quite good at preventing any distracting lines or textures that could detract from the cake. Also, make sure to keep the material wrinkle-free. Wrinkles can cast unwanted shadows and make your photograph look unprofessional. Alternatively, you can purchase backdrops for cake photography, each varying in design, to take perfect shots with different backgrounds.
Lastly, always try experimenting. While keeping the colour neutral, you can play with textures in the background to add subtle visual interest. For instance, using a lightly textured cloth can add a touch of elegance without being distracting.
Choose the right props
Adding decorations to the frame can complement the cake and add visual interest to the overall composition. Let’s explore the following tips for choosing them correctly.
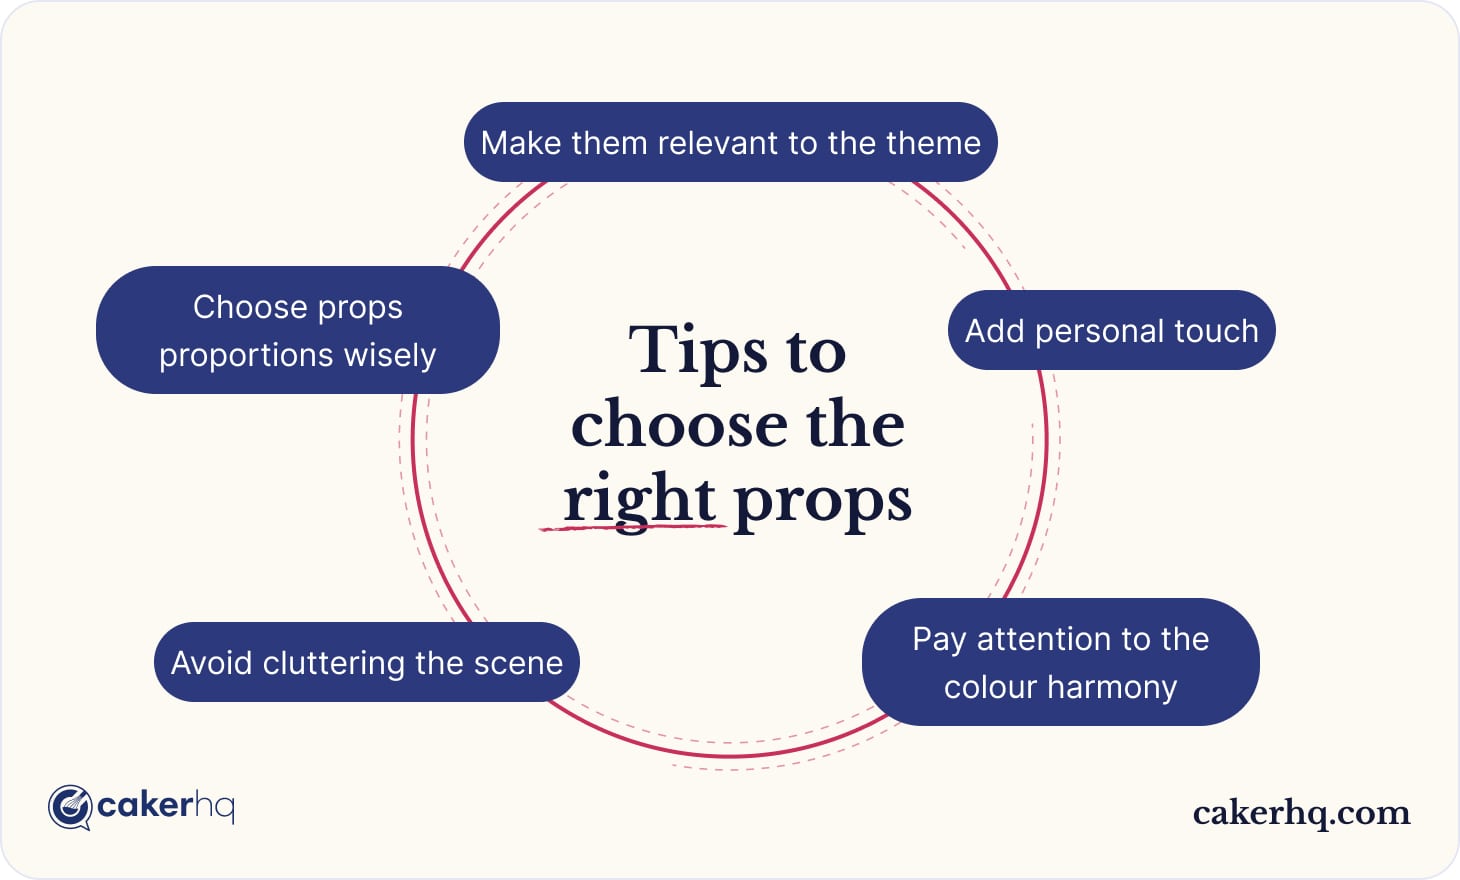
Make them relevant to the theme
The props you choose to put in the frame must correspond to the style of the cake, complementing the entire composition. For example, if you're photographing a rustic cake, opt for wooden boards, burlap, or natural elements like flowers or fruits. If it's a modern cake, consider sleek and minimalistic props.
As can be seen in the example, the props for the photo are chosen perfectly, as each of them is present on the cake. Hence, each element doesn’t distract the viewer from the main focus of the cake.
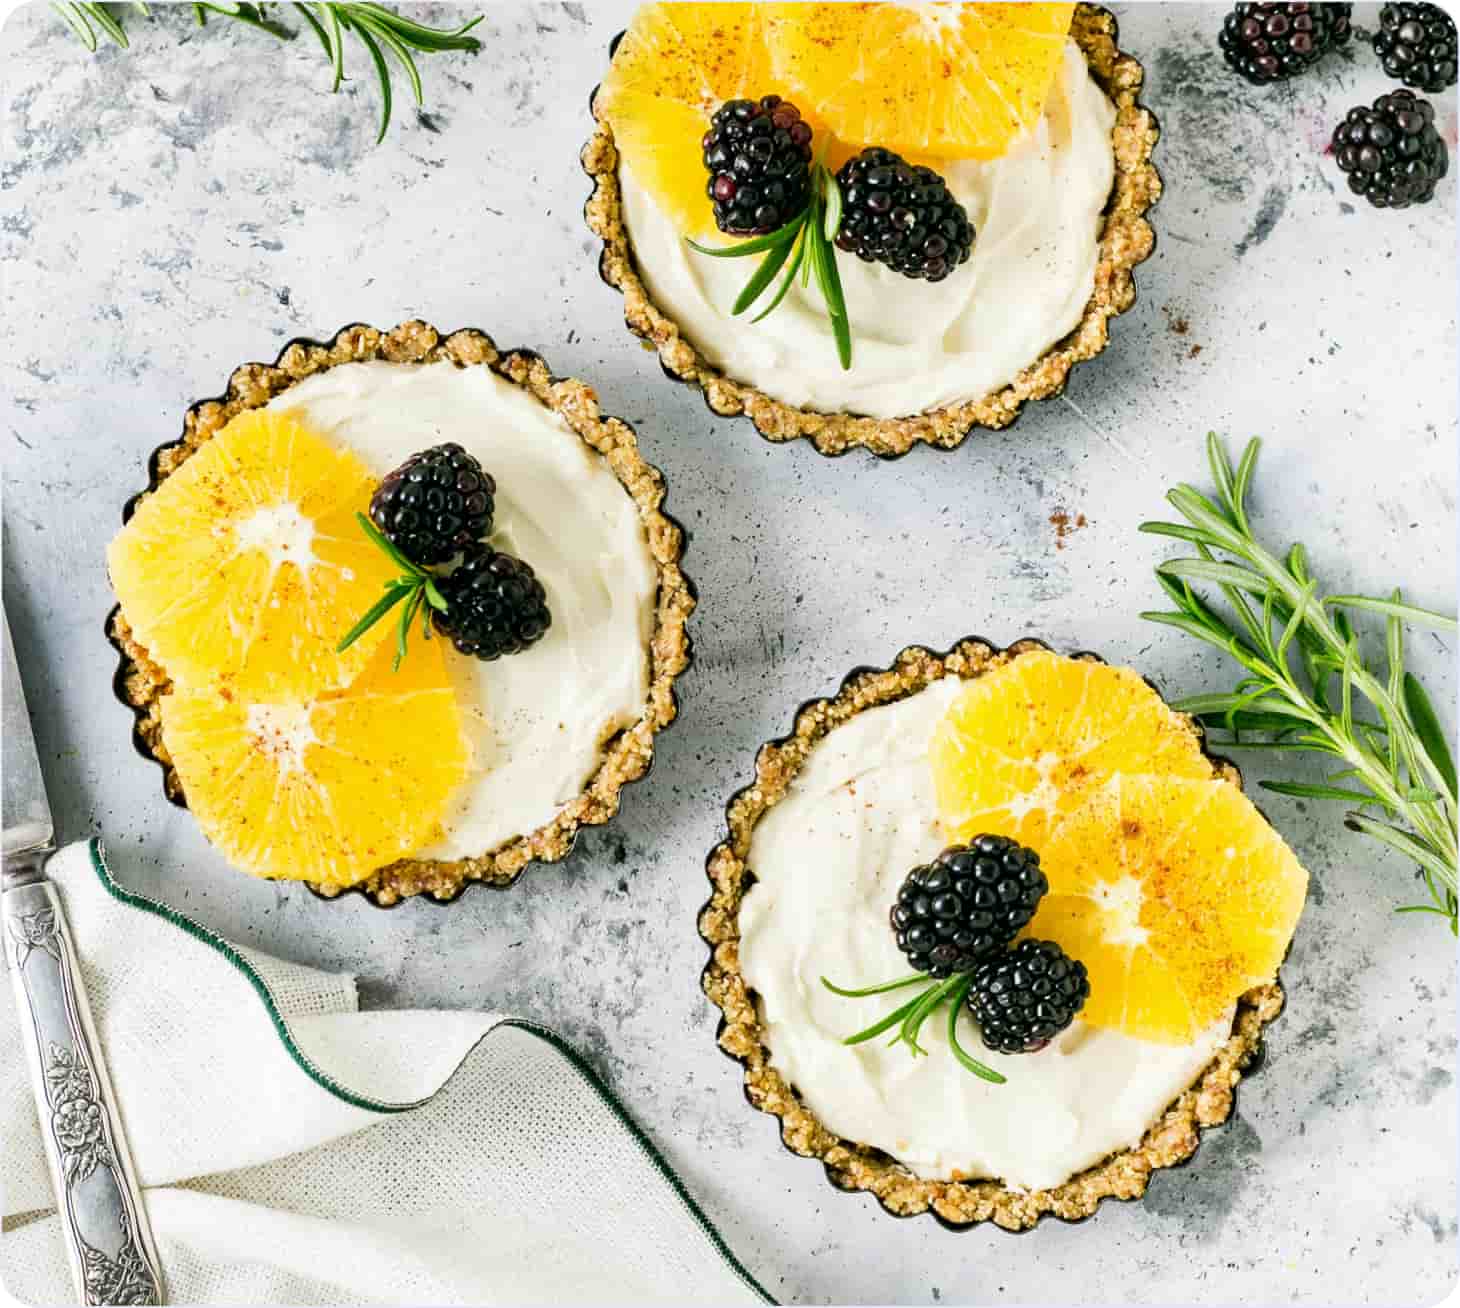
Source: Unsplash
Choose props proportions wisely
Ensure that the size of the props complements the size of the cake. Large props can overpower a small cake, while tiny props might get lost when used with a big cake.
Pay attention to the colour harmony
Consider the colour palette of the cake and select props that harmonise or contrast effectively with the cake's colours. The props should enhance the cake's visual appeal rather than overshadow it.
Avoid cluttering the scene
The focus should remain on the cake, while props are present as complementing elements. Only several props you choose can create a neat setup because there is no need to clutter the composition with supporting elements.
Add personal touch
To advertise your cake-making venture, think of signature props that can reflect your personal style or branding. Adding a personal touch can make your cake photographs more distinctive and memorable.
Play with angles
A portfolio with photos from different angles can greatly help demonstrate creativity and uniqueness in your cake photography. Simply put, different angles can highlight various aspects of the cake, including its textures, decorations, and overall design. Here are a few techniques and angle types you can adopt.
Eye-level angle
Shooting from the same level as the cake provides a personal and inviting perspective. It allows viewers to feel like they're about to enjoy a slice themselves.
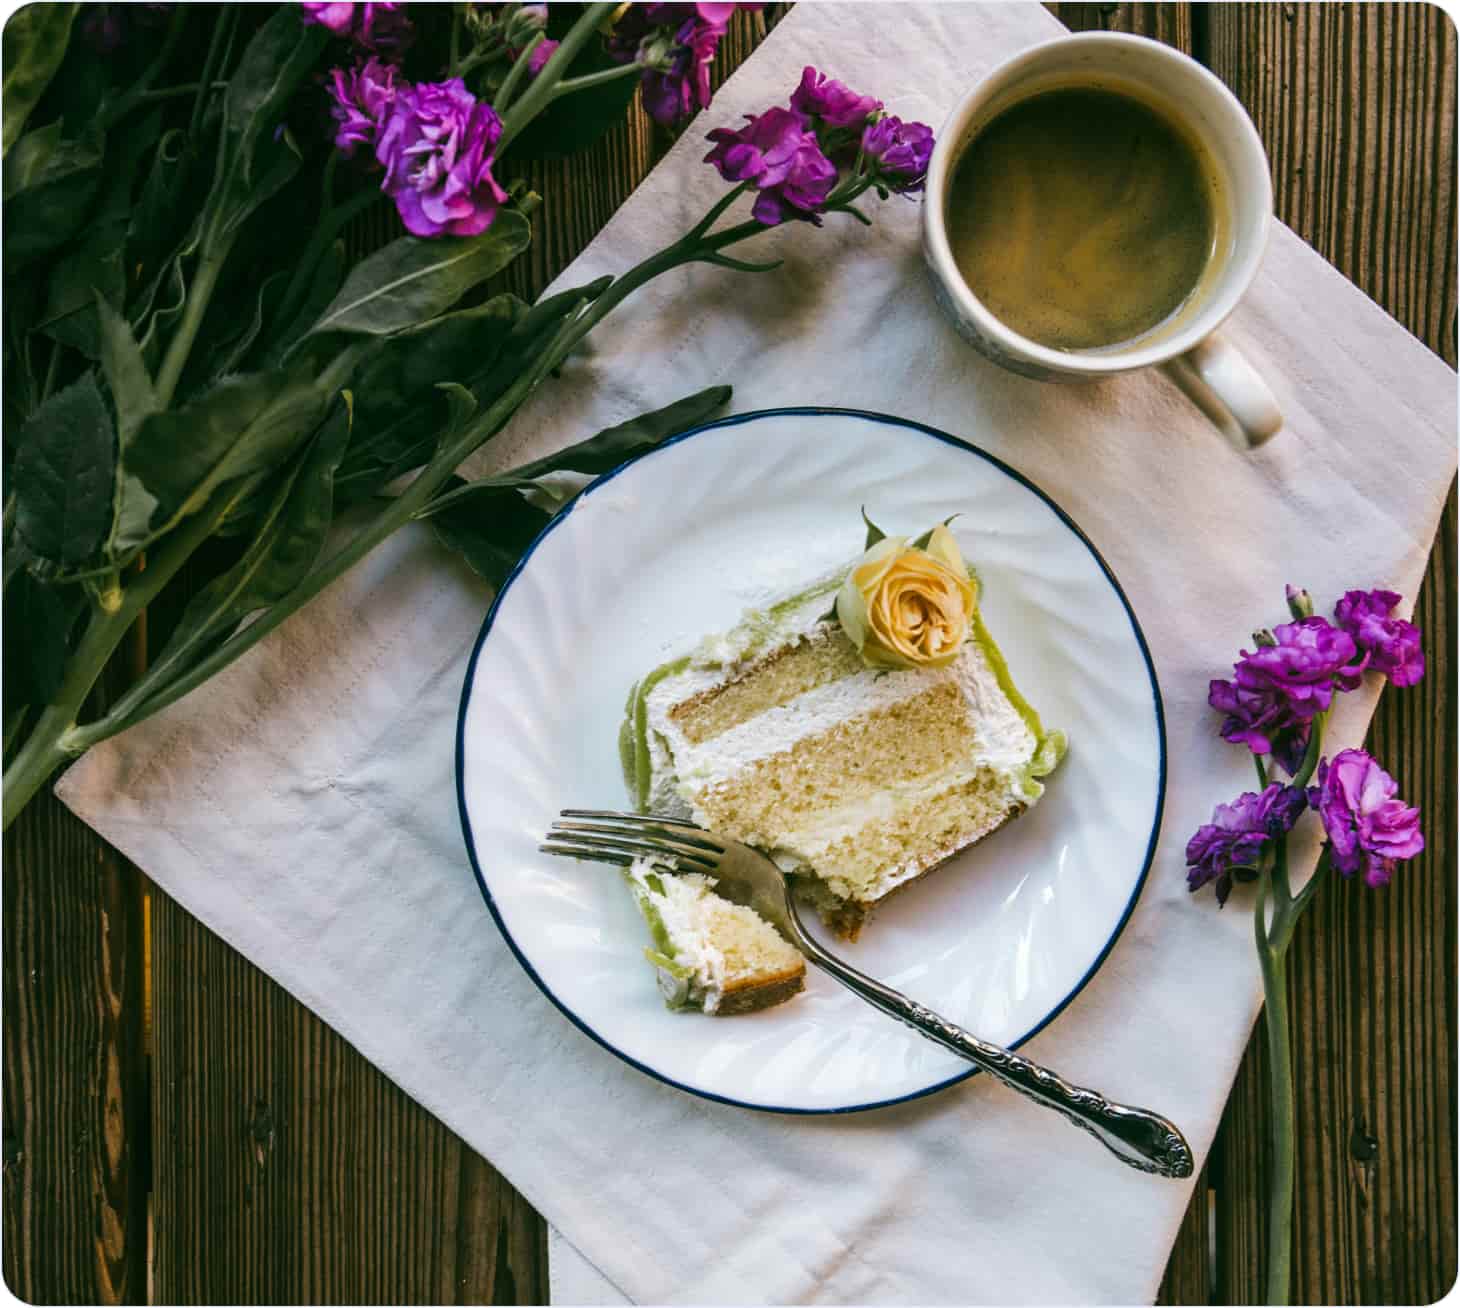
Top-down angle
Photographing the cake from directly above is known as a flat lay. This angle is great for showcasing the cake's decorations, layers, and overall design. It can also emphasise the symmetry and arrangement of the cake. Moreover, cake slice photography from this angle is very eye-pleasing and appealing.
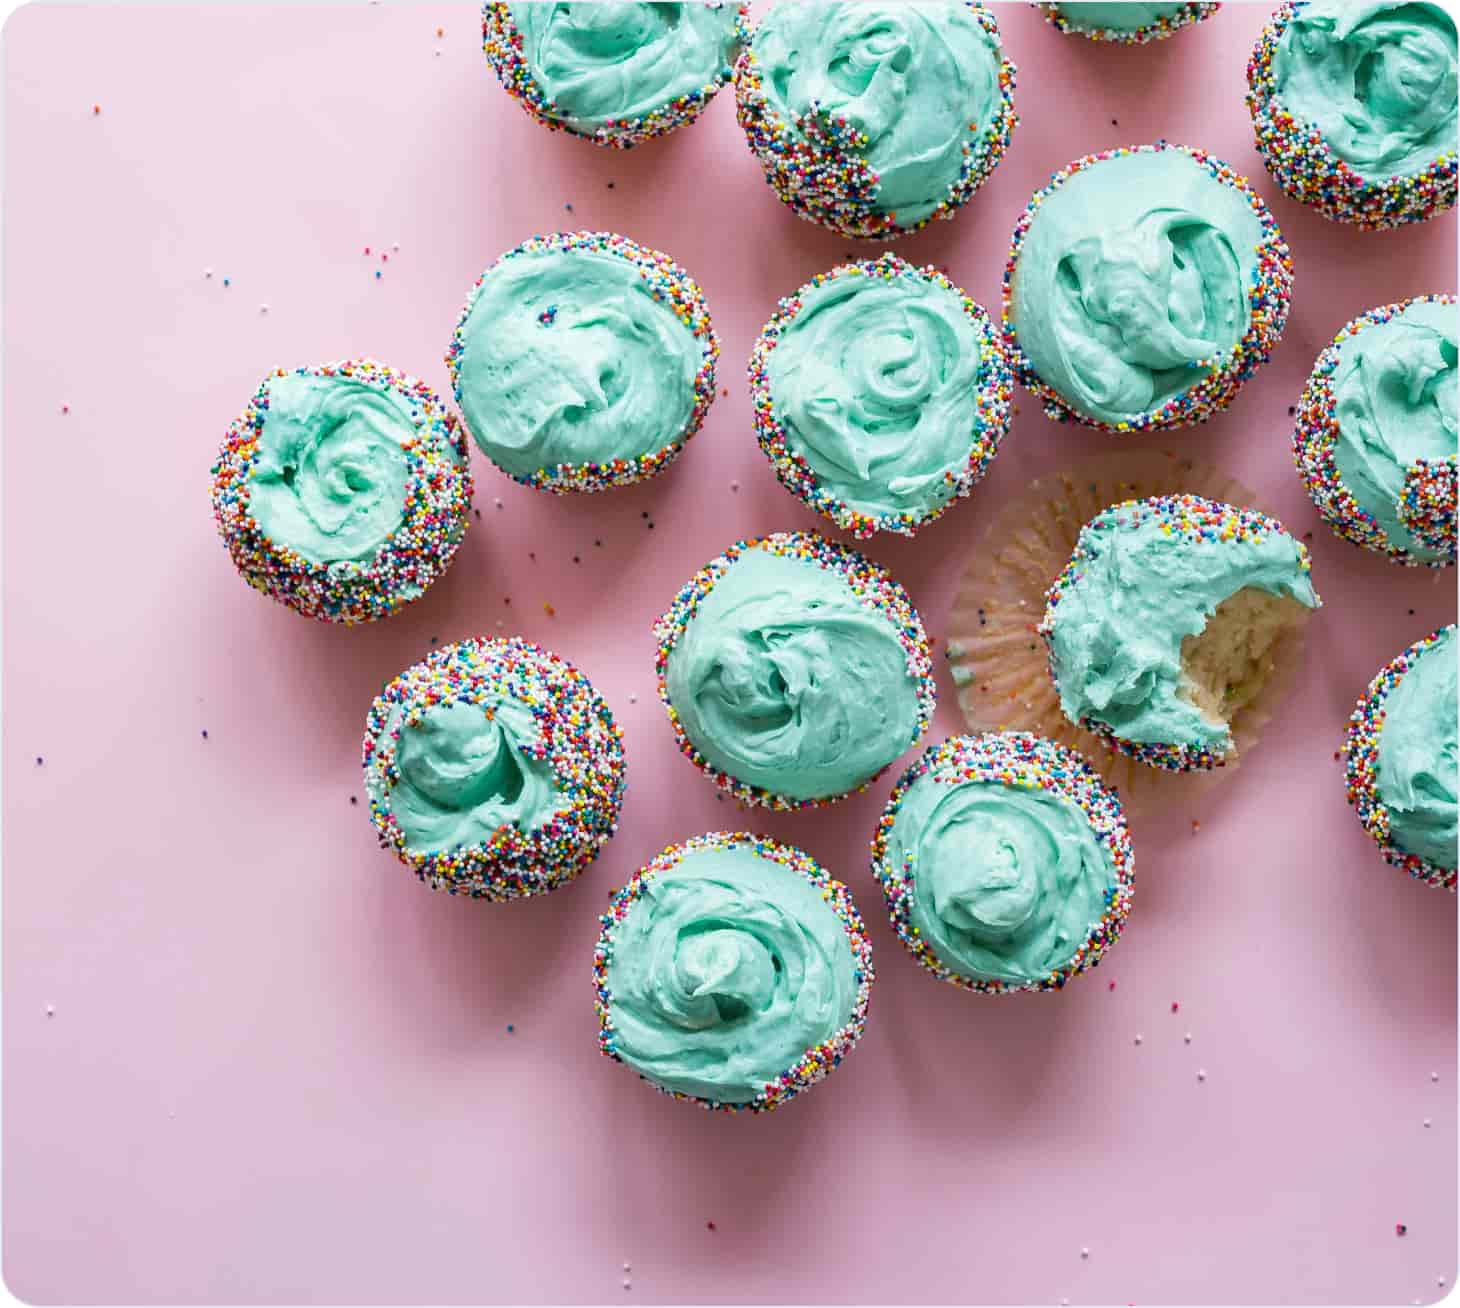
Source: Unsplash
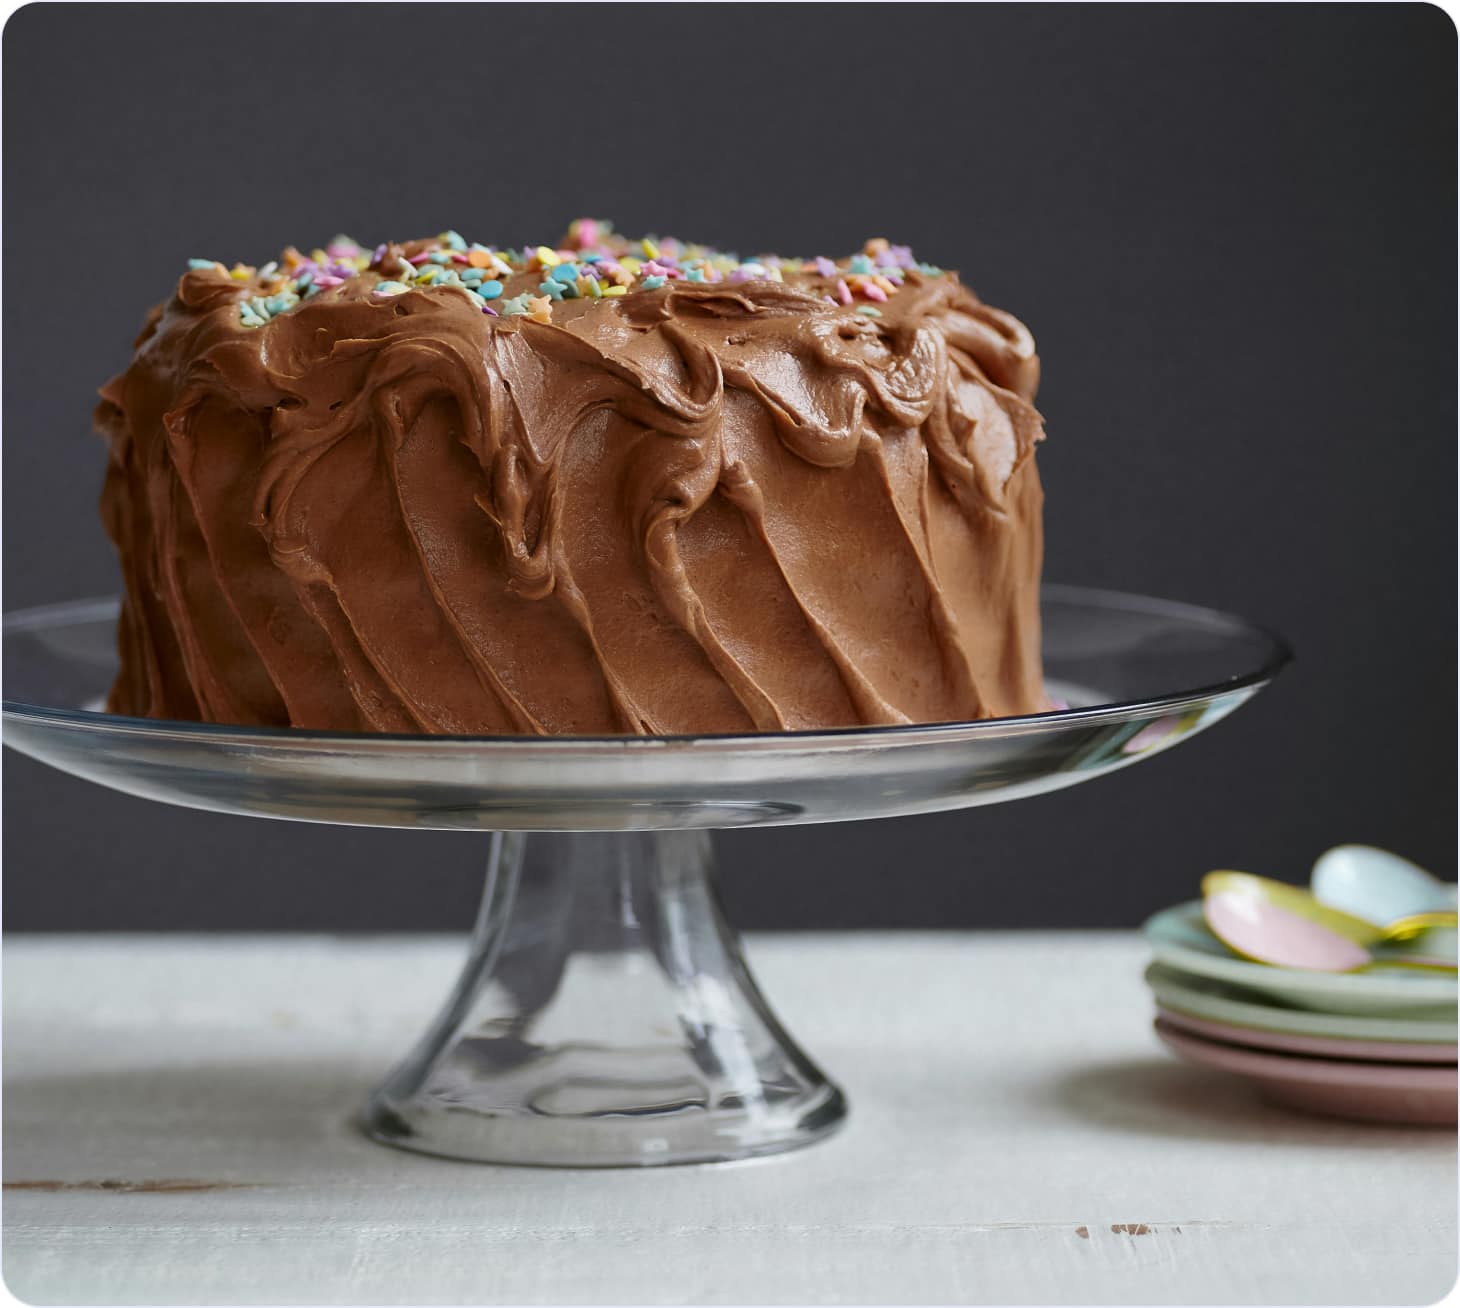
Low angle
Shooting from a lower angle and looking up at the cake can create a sense of grandeur and emphasise the cake's height. This angle is ideal for tall cakes with impressive structures.

Source: Unsplash
45-degree angle
Capturing the cake from a slight angle can add depth and dimension to the photograph. It allows viewers to see both the top and the side of the cake, revealing its layers and decorations.
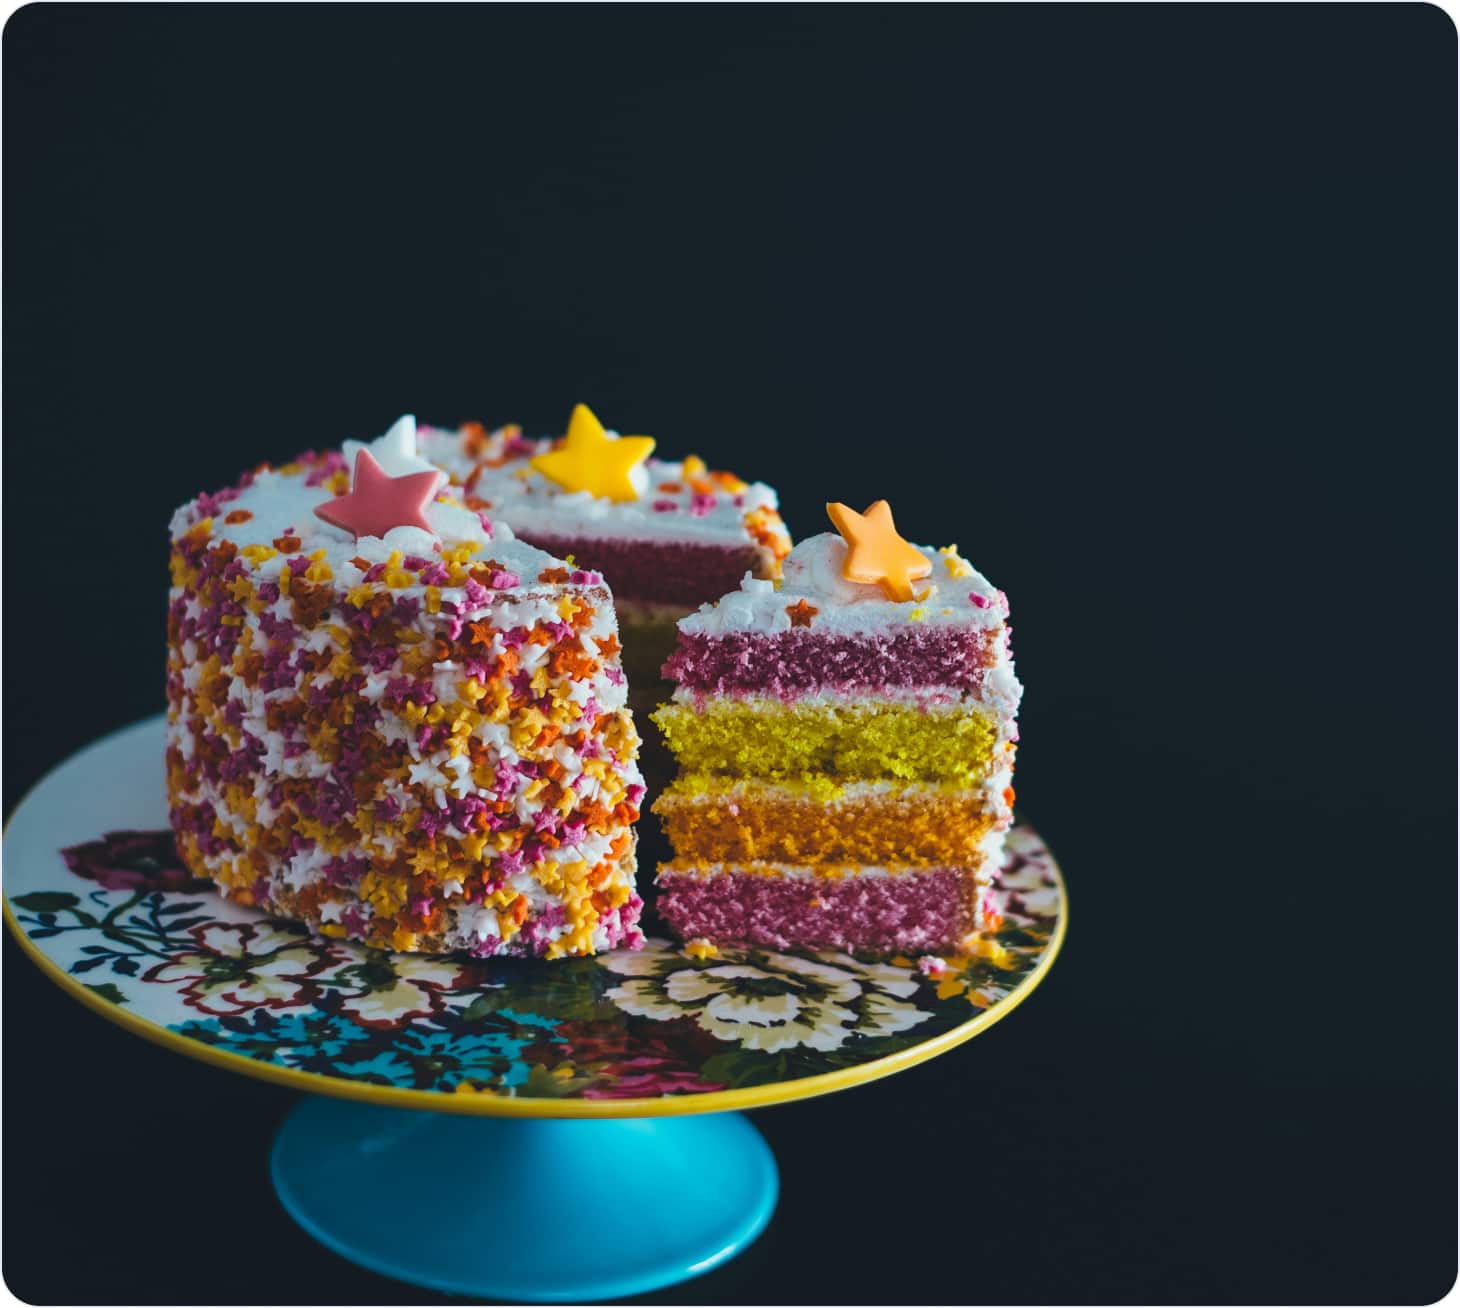
Source: Unsplash
Slice-of-life angle
Capture a slice of cake on a plate to depict the cake in a realistic, everyday context. This angle can evoke a sense of anticipation and make the viewer crave a taste.
Close-up angle
This angle allows you to showcase extra details you put effort into. They can be frosting swirls, decorations, or even the crumb texture of the cake. Close-up angles can reveal the fine craftsmanship and artistry that go into making the cake.
Unconventional angles
Don't be afraid to try unconventional angles that might not immediately come to mind. These angles can lead to unexpected and striking results. Playing with angles not only lets you showcase the cake from various perspectives but also helps you tell a more engaging and dynamic visual story.
Edit and enhance
Nowadays, fewer and fewer photos are published ‘raw’ or unedited. It’s no wonder because today’s software can do magic with photos even if you don’t have the skill or time to master them.
In fact, editing and enhancing your cake photos can make a significant difference in their final appearance. Post-processing allows you to refine colours, adjust lighting, and bring out the details of your cake.
To start doing so, you will need to choose the right photo editing software. For instance, Adobe Lightroom and Photoshop are the most popular choices, but they require skill and a lot of learning as they’re quite comprehensive. However, there are also many user-friendly mobile apps available for editing on the go. Some of the popular ones are Canva and Snapseed.
Now, let’s cover what you can actually do with the raw photos you took.
First of all, remove everything unnecessary. Crop your images to improve composition and remove any distractions around the edges. Then, you can also straighten them if the horizon or cake stand isn't level.
Next up, fine-tune exposure to make sure the light is enough but not overexposed. Then, adjust the white balance to correct any colour casts caused by the lighting conditions. Moreover, you can enhance all colours to harmonise everything in the composition. Yet, be careful not to oversaturate because you want photos to look better but not unrealistic.
Additionally, you can work on contrast and highlights to make the cake stand out from the background. Adjust highlights and shadows to retain detail in both bright and dark areas.
Lastly, think of exporting files. This involves choosing the right file format and ensuring that the image size is suitable for all channels you are planning to use it in.
Include human element
Generally, the human element in your cake photography can be quite beneficial. When including human interactions or emotions in the composition, you can add a sense of scale and relatability to your images. It helps viewers connect with your products on a personal level and envision themselves enjoying the delicious cake. Hence, here are a few ways to incorporate human elements into your pictures.
Showcase different interactions
There are numerous photography cake ideas involving various interactions. You can capture someone cutting a slice of cake, presenting it as a gift, holding a fork, or taking a big bite. These actions evoke feelings of enjoyment and anticipation, making the photograph more relatable.
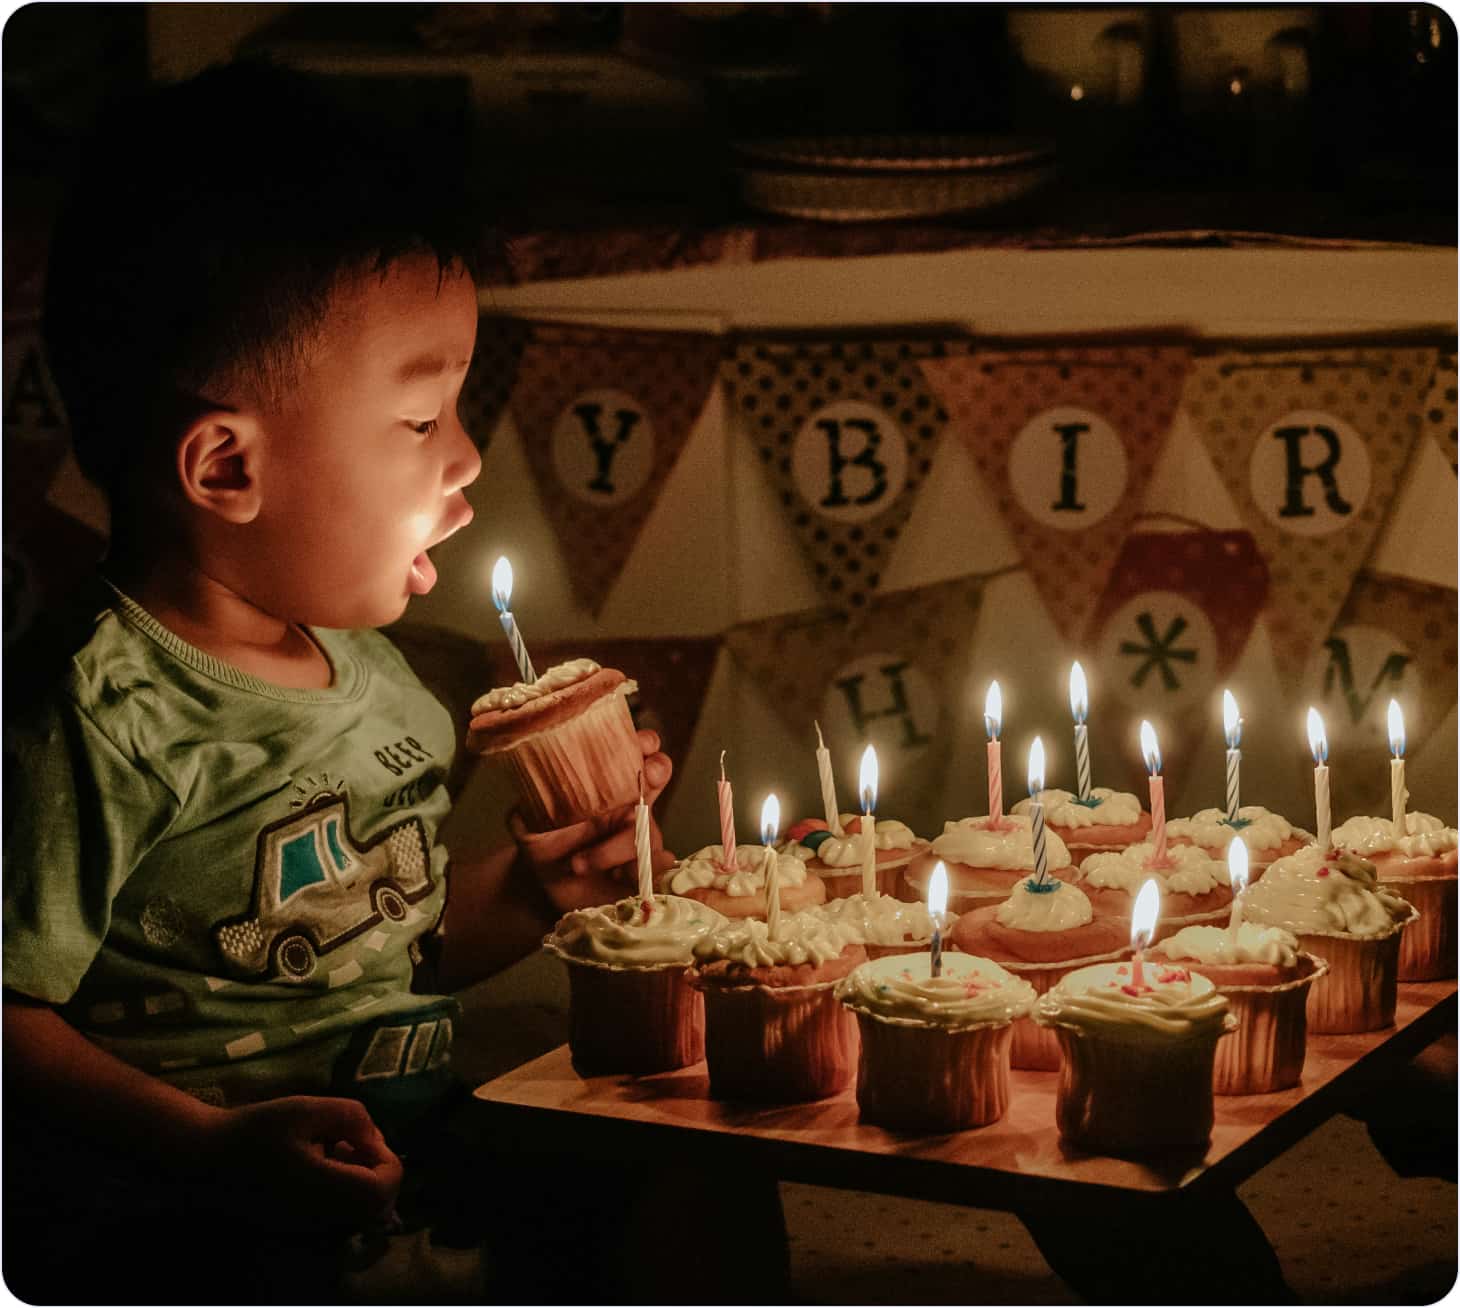
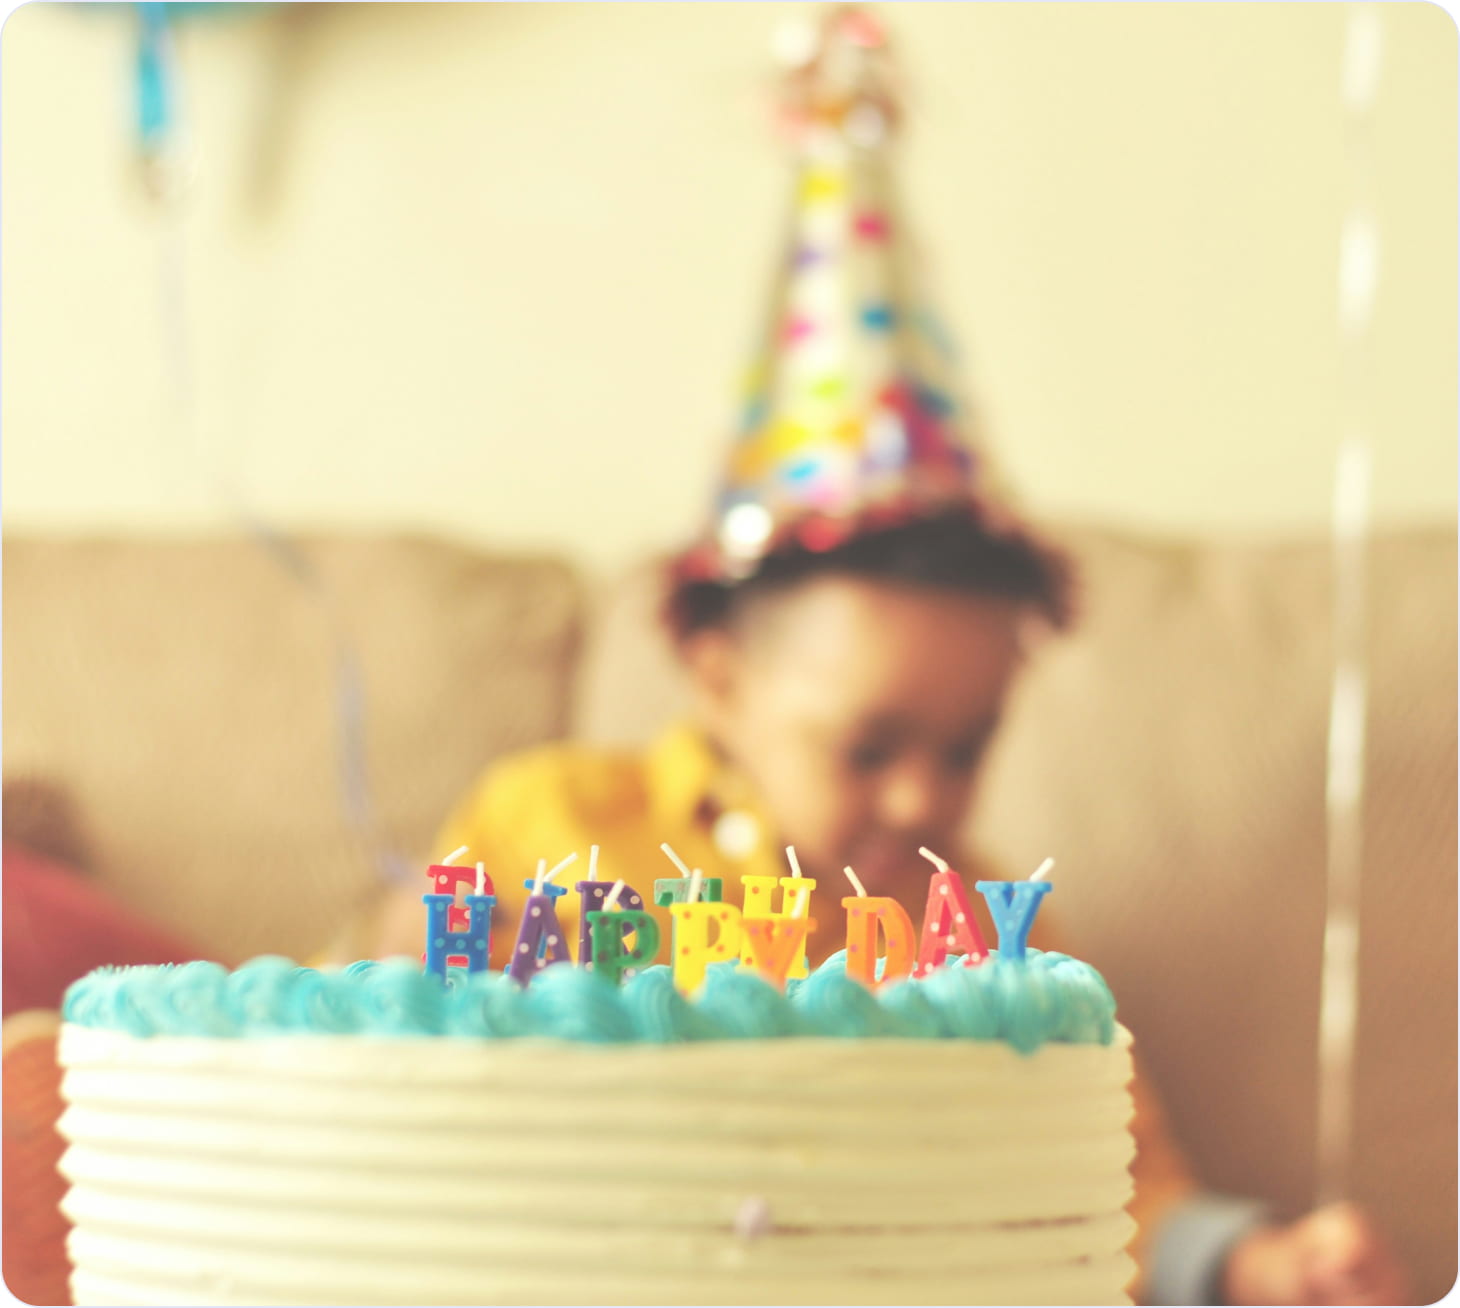
Capture reactions
Adding an emotional element, like catching the genuine reactions of people enjoying the cake, can be a winning idea. Smiles, laughter, and expressions of delight can add an authentic touch to your images. For this, you can use different occasions and set up a wedding, a birthday cake photography session, or any other holiday.
Source: Unsplash
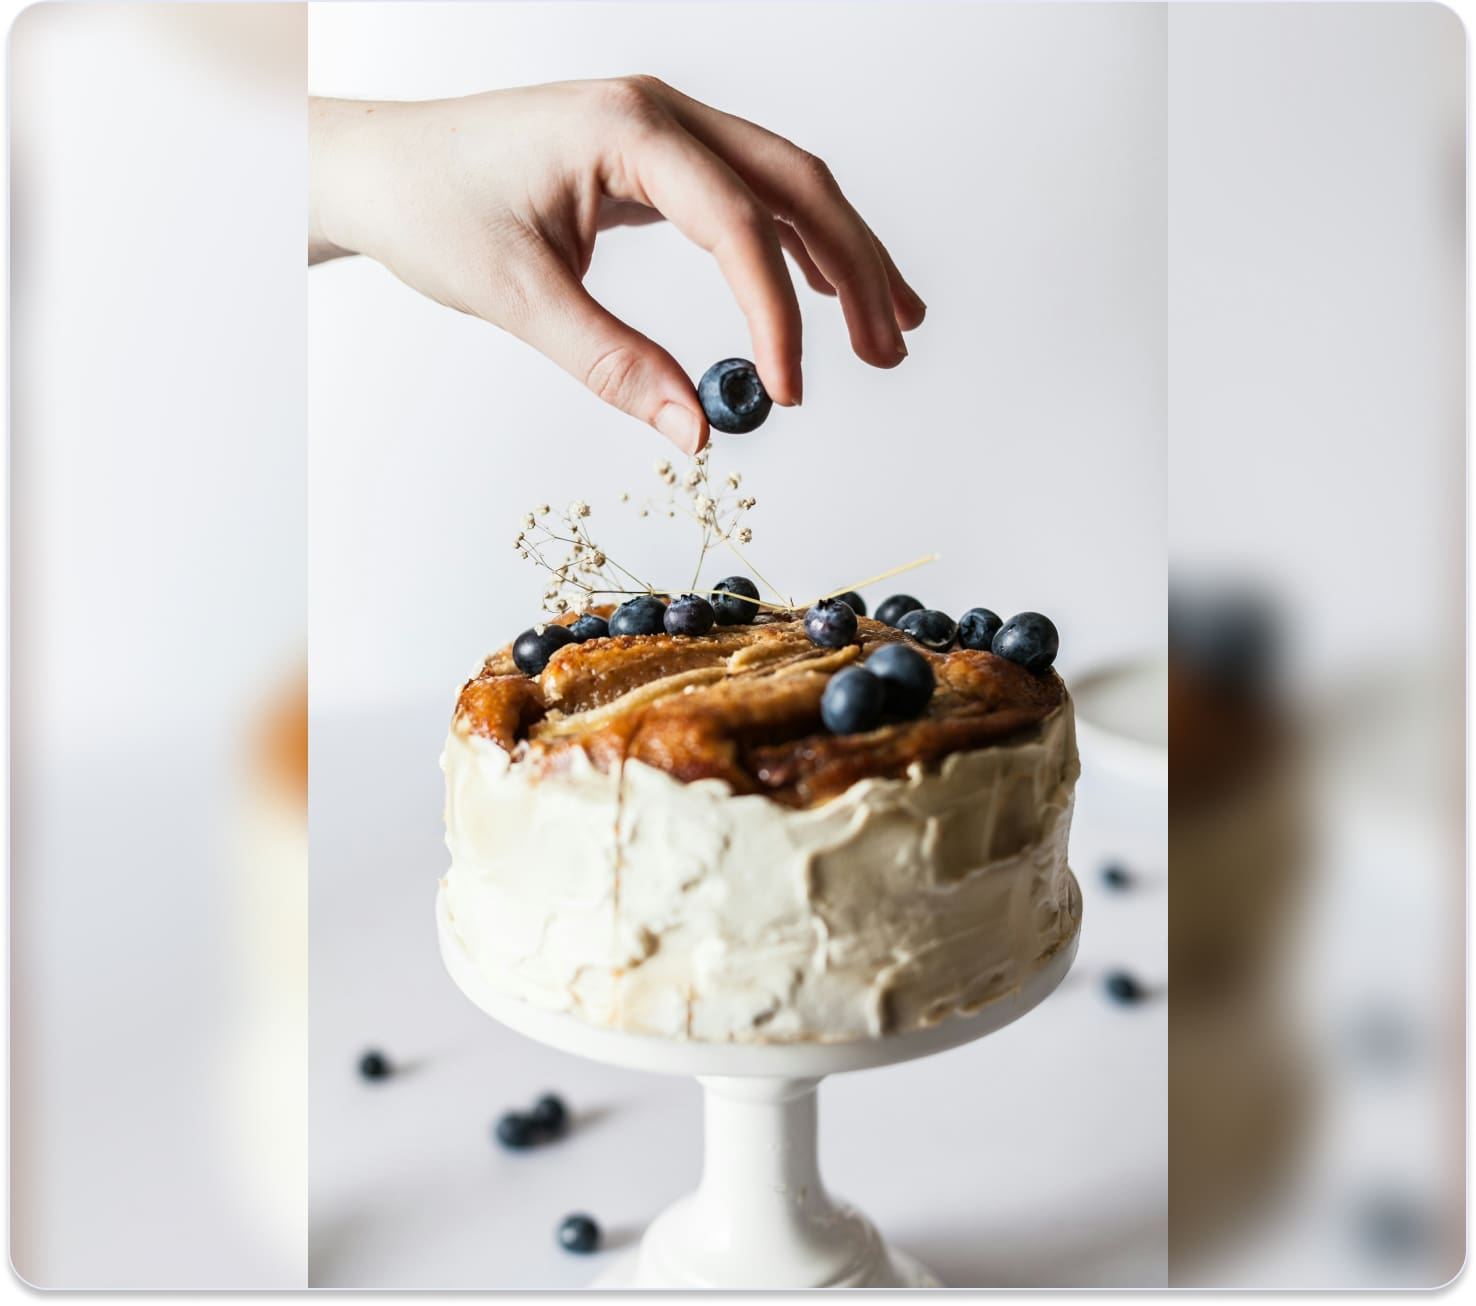
Add hands to the composition
Including hands in the frame can convey a sense of connection and intimacy. A hand reaching for a slice or holding a fork can tell a story and make the scene more inviting.
Source: Unsplash
Create small narratives
Use the human element to create a story around the cake. This could be a person baking the cake, setting up a dessert table, or even a candid moment of someone admiring the cake's decorations.
Incorporate children
Children's reactions to cakes can be especially heartwarming. Capture their excitement and curiosity as they interact with the cake.
Source: Unsplash
Including a human element adds life and emotion to your cake photography. It showcases the joy of indulging in the cake and helps the viewer connect with the experience. Remember to balance the cake and the human element; the goal is to enhance the story and atmosphere without overshadowing the main subject.
Practise and patience
As easy as it sounds, constant practise and patience are not something you can get by default. Mastering photography requires a serious time investment and patience, as with any other skill. To improve it, always be ready to learn something new.
To start, however, you can even use your phone. Fortunately, today’s smartphones offer capabilities that professional cameras couldn’t provide a few years ago. When taking pictures with your smartphone, you can:
- Adjust the lighting. Nearly all smartphones allow you to adjust the lighting or brightness right before you take a picture. Additionally, you can also use a flashlight to take detailed shots in poor lighting conditions.
- Use filters. Although the majority of filters alter the color scheme, there are a few handy ones. For instance, you can use mono or noir filters along with cold or warm-enhancing ones that will greatly help you highlight the mood of the composition.
- Try different aspect ratios. If you don’t need to print out pictures you take, choosing different aspect ratios can bring new perspectives to your photography sessions. For example, a 4:3 aspect ratio is considered standard, while a 1:1, or square aspect ratio, is a good choice for smaller cake photography. Alternatively, for bigger goods or landscape mode pictures, try using the 16:9 aspect ratio, as it allows you to capture more in the frame.
- Make use of portrait mode. When including a human element, portrait mode can greatly enhance the picture, bringing focus to the person with a cake and blurring the background. Moreover, you can adjust the blur’s intensity. This way, you can effectively hide imperfections in the background and shift a focal point to your cake.
- Turn on a grid view. We have already covered the rule of thirds and different angles. In this regard, a grid is the thing that will greatly simplify the process of implementing those lifehacks. For example, when turned on, you can easily see which elements in the composition look out of place and what you need to adjust.
- Try different lenses. To go beyond what smartphones offer, lenses can come in handy. For example, some of them allow you to take macro pictures, highlighting the texture of cakes. With wide-angle lenses, you can capture a lot of objects in one frame.
- Give a mini tripod a chance. They are quite common in photography. Moreover, a mini version of a tripod is very portable and compact. With its help, you can stabilise the smartphone, choose an angle, and fixate it in your chosen position. Then, simply adjust the composition if needed and take motion-free pictures with ease.
Simply put, modern smartphones offer more than you can imagine, and in the right hands and with the right approach, they can help you capture your masterpieces with ease. In fact, you would be surprised how many professionals actually use smartphones exclusively and easily conquer the food photography world.
Another good approach is to start visiting courses that teach cake styling and presentation techniques to make your cakes visually appealing. Alternatively, you can always find dozens of videos on YouTube where people teach and show how it’s done. Additionally, you can learn by observing other works. This way, you will have a greater understanding of how all aspects mentioned above are implemented by other people. For example, you can follow cake makers on Instagram, observe their works on CakerHQ, or dive into Pinterest, where there are dozens of cake examples.
Moreover, you can be rewarded with perfection for your patience. Simply put, you don’t need to hurry. Instead, create a special photography cake: take your time to arrange props, adjust lighting, and frame your shot precisely. Study composition principles in art to enhance your cake compositions.
Also, involve people in your learning process. Create a thing called a ‘feedback loop’ by sharing your photos with others and seeking constructive feedback to improve. Moreover, you can involve relatives and friends as taste testers. With their help, you can improve proportions and even find inspiration by looking at their reactions.
Lastly, keep visual references of your work. There’s a big chance that your business plan for baking business includes creating a digital portfolio to showcase your work. As you fill it with new works of yours, you will see how your baking skills grow and how you improve in photography.
Bottom line
Remember, while technical skills are crucial, the creativity and passion you bring to cake photography play a significant role in making your photos stand out. It would always be wise to keep in mind that your main objective is baking, while photography is more of a marketing skill. Some people are good at photography, while others have a hard time wrapping their heads around it.
After all, we sincerely hope this article will not only be helpful to you but also serve as an inspiration. When learning something new, it may be difficult to find something to motivate and inspire you, so the lifehacks you learned today can help you prove to yourself that nothing is impossible.